RV Roof Maintenance: Protect Your Investment
Table of contents
Owning an RV offers the incredible freedom of traveling with a roof over your head, but it’s easy to overlook the essential care your camper roof needs. Regular RV roof maintenance is the critical first line of defense against costly water damage, mold, and structural issues that can significantly reduce your vehicle’s lifespan. Many RV owners don’t realize that roof damage is typically excluded from extended warranties, making preventative care essential for protecting your investment. Whether you have a rubber membrane, fiberglass, or metal camper roof, understanding the specific requirements for your RV roof type is crucial. This comprehensive guide covers everything from identifying your roof material to performing regular cleaning, inspection, and repairs—empowering you to extend your RV’s life and avoid expensive problems down the road.
Types of RV Roofs
RVs come with different roof types, each with its unique characteristics and maintenance needs. Understanding these roof types can help you better care for your RV. Let’s explore the key types:
Membrane Roofs (EPDM and TPO)
Rubber roofs are the most common type found on modern RVs, with two primary varieties: EPDM (ethylene propylene diene monomer) and TPO (thermoplastic polyolefin).
EPDM roofs have been the industry standard since the 1980s. These roofs are manufactured black but coated with a white finish to reflect heat. With proper rv roof maintenance, an EPDM roof can last up to 20 years. You can identify an EPDM roof by its slightly chalky feel when dry and the white residue that appears when it rains (known as “chalking”).
TPO roofs are a newer but well-established option. Unlike EPDM, TPO is the same color throughout the material (typically white), making it more resistant to chalking. TPO roofs are cost-efficient and help keep RVs cooler in hot weather due to their reflective properties. They have a smoother, more plastic-like feel compared to EPDM.
- Maintenance challenges for rubber roofs include:
- Seam separation requiring regular inspection
- Susceptibility to punctures and tears
- Degradation from petroleum-based products
- UV damage causing brittleness over time
Fiberglass Roofs
Fiberglass RV roofs are hard to the touch and more resistant to physical damage than rubber roofs. These roofs are lightweight, which helps with fuel efficiency, and require less frequent maintenance than rubber options.
Key advantages of fiberglass roofs include:
- Customizable appearance
- Fire resistance
- No rotting or rusting
- Better durability against branches and debris
However, fiberglass has its drawbacks, including higher repair costs and vulnerability to heat damage. You can identify a fiberglass roof by its hard, smooth surface that doesn’t flex when pressed.
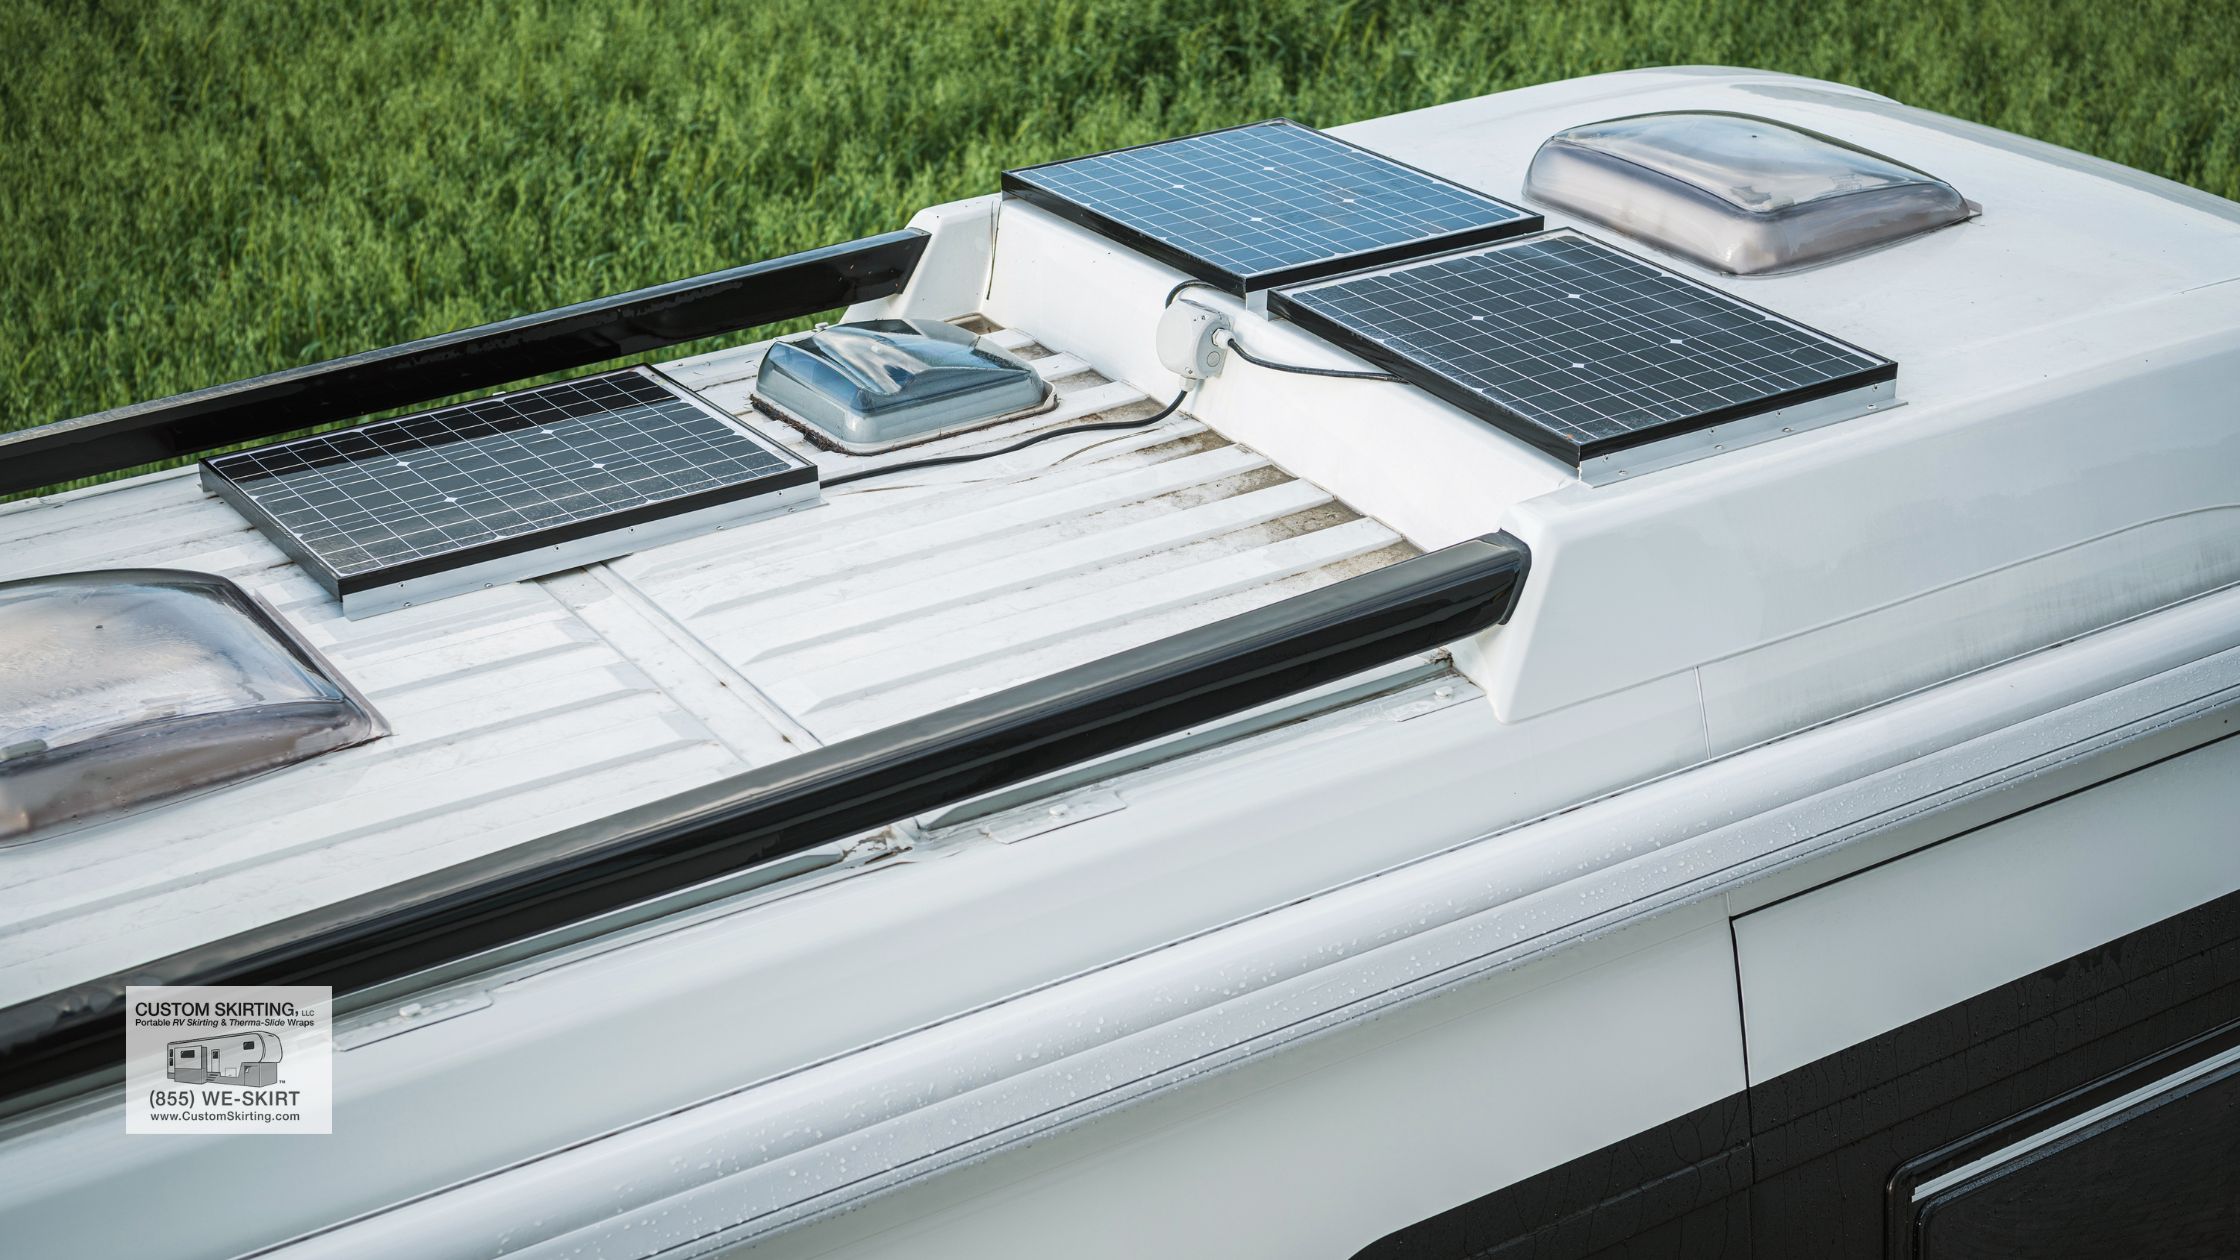
Metal Roofs
Metal roofs are less common but extremely durable. Typically made of aluminum (like those on Airstream RVs) or sometimes steel on Class B RVs, metal roofs offer excellent longevity with proper care.
While metal roofs are highly resistant to punctures and UV damage, they have their own maintenance considerations:
- Require proper fastening to prevent leaks
- Susceptible to seam failure if not regularly maintained
- Can hide leaks, allowing water to travel before showing damage
- May require specialized sealants at joints and seams
You can identify a metal roof by its distinctive appearance and the solid sound it makes when tapped.
RV Roof Maintenance Tips
Proper maintenance of your RV roof is crucial for preserving its integrity and protecting your investment. Follow these essential tips to keep your RV roof in top condition:
RV Roof Cleaning
Regular cleaning of your RV roof is crucial for its longevity and performance. Professionals advise cleaning at least twice a year to prevent dirt buildup and damage. Here’s a step-by-step guide for proper cleaning:
- Choose the Right RV Roof Cleaner: Use a cleaner specifically designed for your RV roof type—whether it’s membrane, fiberglass, or metal. Avoid harsh chemicals that could damage the surface.
- Gather Your Tools: You’ll need a soft-bristled brush, a bucket, a water hose, and the chosen cleaner.
- Prep the Roof: Park your RV in a shaded area and sweep off any loose debris with the brush.
- Mix the Cleaner: Follow the manufacturer’s instructions to dilute the cleaner in the bucket.
- Apply the Cleaner: Use the brush to apply the cleaner evenly across the roof. Work in sections to ensure thorough coverage.
- Scrub Gently: Scrub the roof surface with the brush, focusing on stubborn stains or dirt buildup. Avoid excessive pressure to prevent damage.
- Rinse Thoroughly: Rinse off the cleaner with clean water using a hose. Ensure all residues are washed away.
- Inspect for Damage: While cleaning, inspect seams, sealants, and vents for any signs of damage or wear.
Best RV Roof Cleaners
Here are some highly recommended RV roof cleaners available on the market:
- Dicor RPCRPQ EPDM Rubber Roof Cleaner: Ideal for EPDM rubber roofs, this cleaner effectively removes dirt and grime without damaging the material.
- Thetford RV Rubber Roof Cleaner: Specifically formulated for rubber roofs, this cleaner lifts tough stains and restores the roof’s appearance.
- Bio-Kleen M00509 Roof Cleaner: Suitable for all roof types, this eco-friendly cleaner removes oxidation, dirt, and grime without harsh chemicals.
RV Roof Inspection
While cleaning your RV roof, take the opportunity to perform a thorough inspection to ensure your roof is in optimal condition. Here’s how to conduct an effective inspection:
- Check Seams and Sealants: Examine all seams and sealants carefully for signs of cracks, gaps, or wear. Even minor openings can lead to water leaks and damage over time.
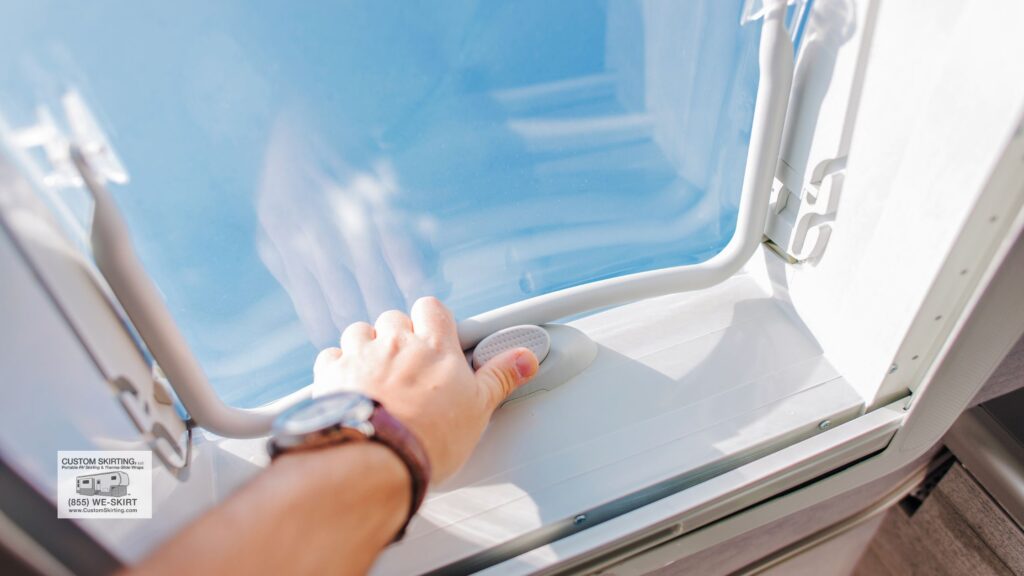
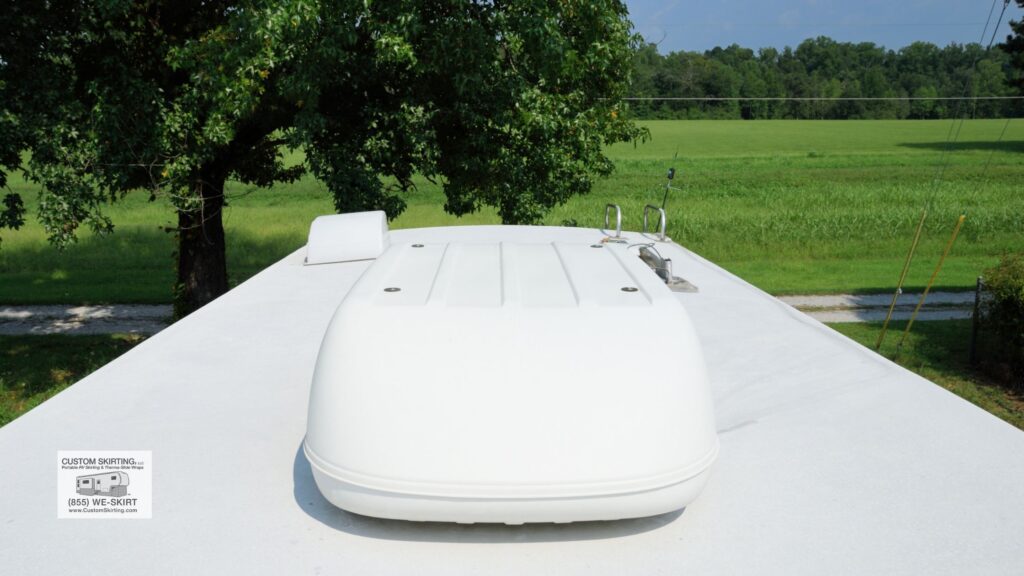
- Inspect Roof Fixtures: Pay attention to roof fixtures such as vents, antennas, and skylights. Ensure they are securely sealed and free from any damage.
- Look for Mold or Dirt Buildup: Check for any mold, mildew, or persistent dirt accumulation on the roof surface. Addressing these issues promptly can prevent further damage.
- Check for Delamination: Inspect for any signs of delamination, where the roof layers separate. Delamination can weaken the roof’s structure and compromise its integrity.
- Examine Roof Edges: Focus on the edges of the roof and gutters for any signs of damage or detachment.
- Inspect Roof Membrane (if applicable): If your RV has a membrane roof, inspect it for tears, punctures, or wear. Ensure the membrane is intact and free from damage.
- Test Sealant Integrity: Test the integrity of existing sealants by gently pressing on them. Replace any sealants that feel brittle or show signs of deterioration.
- Address Issues Promptly: If you discover any damage or issues during the inspection, take immediate steps to repair or replace components to prevent further damage.
Resealing & Recoating
Regularly applying fresh sealant and protective coatings to your camper roof, even in the absence of visible issues, is essential for long-term maintenance. This proactive approach helps reinforce seals, prevents water damage, and extends the roof’s lifespan. Consult your manual or a professional for suitable products and techniques based on your roof material. By integrating resealing and recoating into your maintenance routine, you’ll ensure your RV roof remains durable and reliable throughout your adventures.
Fiberglass Roof Protection
To protect fiberglass camper roofs from oxidation and maintain their appearance, it’s crucial to apply a protectant after cleaning. If there’s slight oxidation, use a cleaner/wax or restorer/wax with mild abrasives. Apply in small sections, let dry, then buff for a shiny finish. This process helps prevent the roof from losing its shine, feeling rough, or developing white powder over time. Regular maintenance like this preserves the integrity and aesthetics of your RV’s fiberglass roof.
Steps for Fiberglass Roof Protection:
- Oxidation Removal: If there’s oxidation, use a cleaner/wax or restorer/wax containing mild to medium abrasives.
- Application: Work in small sections (3-foot-by-3-foot), applying the product in a circular motion.
- Drying & Buffing: Allow the product to dry to a haze, then buff it out to a smooth, glossy finish.
RV Roof Damage Prevention
Protecting your RV/camper roof from the elements is essential for preventing costly damage and extending its lifespan. Here are key strategies to shield your RV roof when it’s not in use:
Keeping It Covered:
- Storage Enclosures: Store your RV in a covered storage facility or garage to shield it from direct exposure to sunlight, rain, snow, and debris. Covered storage reduces the risk of UV damage and water intrusion.
- RV Covers: Invest in a quality RV cover designed to fit your RV’s dimensions. A properly fitted cover provides an additional layer of protection against UV rays, bird droppings, tree sap, and other environmental contaminants.
Benefits of RV Roof Protection:
- UV Protection: Sun exposure can cause premature aging, cracking, and fading of RV roofs. Sheltering your RV reduces UV damage, preserving the roof’s integrity and appearance.
- Prevent Water Damage: Keeping your camper roof dry minimizes the risk of leaks and water intrusion, which can lead to mold, mildew, and structural damage.
- Preserve Resale Value: A well-maintained RV roof retains its value over time. Protecting the roof with covers or storage solutions can enhance resale potential.
Choose the option that best suits your needs and budget to safeguard your RV roof during periods of non-use. Regular maintenance and protective measures will help ensure your RV remains in optimal condition for years of enjoyable travel and adventure.
DIY vs. Professional Maintenance: Making the Right Choice
Deciding when to perform RV/camper roof maintenance yourself versus hiring professionals requires weighing several factors.
Benefits and Limitations of DIY Maintenance
DIY RV roof maintenance offers several advantages:
- Cost savings: Professional roof services can be expensive, with basic inspections starting at $150 and major repairs costing thousands.
- Convenience: You can perform maintenance on your schedule.
- Familiarity: Regular DIY maintenance helps you know your RV’s specific issues and history.
However, DIY maintenance has limitations:
- Safety risks: Working at height carries inherent dangers.
- Knowledge gaps: Without proper training, you might miss subtle signs of damage.
- Tool and material costs: Specialized tools and materials can be expensive for one-time use.
- Time commitment: Proper maintenance is time-consuming, especially for novices.
Assess your comfort level, physical abilities, and technical knowledge honestly before deciding to tackle RV/camper roof maintenance yourself.
Professional Maintenance Services
Professional RV roof services typically include:
- Comprehensive inspection using specialized equipment
- Cleaning with professional-grade products
- Sealant inspection and replacement
- Minor repairs as needed
- Documentation for warranty purposes
Benefits of professional service include:
- Expertise: Professionals can identify problems you might miss.
- Efficiency: What might take you a weekend can often be completed in hours.
- Warranty protection: Many manufacturers require professional maintenance to maintain warranty coverage.
- Liability: Professionals carry insurance for any damage that might occur during service.
When selecting a service provider, look for:
- Specific experience with your RV/camper roof type
- Certification from RV industry organizations
- Positive reviews from other RV owners
- Clear, detailed estimates before work begins
Creating a Hybrid Approach
Many RV owners find a balanced approach works best:
DIY Tasks:
- Regular cleaning (2-4 times per year)
- Visual inspections before and after trips
- Minor sealant touch-ups in accessible areas
- Emergency temporary repairs while traveling
Professional Tasks:
- Annual comprehensive inspection
- Complete resealing projects
- Repair of large tears or structural issues
- Pre-purchase inspections when buying a used RV
This hybrid approach balances cost savings with the security of professional expertise for more critical issues. Consider scheduling professional service before winter storage or at the start of travel season for optimal protection.
Conclusion
Regular RV roof maintenance is not just about preserving your RV’s appearance—it’s about protecting your substantial investment. Water damage from roof leaks can quickly escalate from a minor annoyance to catastrophic structural failure, often costing thousands in repairs. By understanding your specific roof type, establishing a consistent maintenance schedule, and addressing small issues before they become major problems, you can significantly extend your RV’s lifespan and maintain its value.
Whether you choose the DIY route, professional services, or a combination of both, the key is consistency. Even the most basic maintenance routine—regular cleaning, inspection, and prompt attention to damaged sealants—can prevent the vast majority of serious roof problems. Remember that the small investment of time and resources in preventative maintenance pays dividends by avoiding costly repairs and ensuring worry-free adventures for years to come.
Your RV represents freedom, adventure, and countless memories waiting to be made. Protecting it through proper roof care is one of the wisest investments any RV owner can make.
Protect Your RV Investment Year-Round
While proper RV roof maintenance is essential for protecting your RV from above, don’t forget about protecting it from below. Custom Skirting offers the Nation’s #1 RV skirting solution that complements your roof care routine by providing complete protection for your vehicle.
Our team blueprints and custom-tails your RV skirting on-site, ensuring a flawless fit that provides unparalleled protection. The exclusive “No-Snap, No-Gap” channel system seals out water, snow, and wind more effectively than any other product on the market. With over a decade of testing in the harshest winters across the northern United States and Canada, our skirting has proven itself as the top choice for serious RV enthusiasts.
Take your RV protection to the next level—get Custom Skirting today and experience the difference for yourself!