12 Step RV Renovation Guide + Ideas
Table of contents
- Step 1: Check for Any Mechanical or Structural Issues
- Step 2: Repair Any Damages
- Step 3: Plan the RV Renovation
- Step 4: Demo the RV
- Step 5: Shop for the RV Renovation
- Step 6: Clean & Prep All the Surfaces
- Step 7: Paint the Walls, Cabinetry & Doors
- Step 8: Add Inner Shelves or Separations for Organization
- Step 9: Install Flooring
- Step 10: Add Peel and Stick Backsplash
- Step 11: Install New Light Fixtures
- Step 12: Add New Furniture
- Experience the Nation’s #1 RV Skirting Solution!
Are you ready to transform your RV into a mobile sanctuary? Whether you’re dreaming of a cozy, personalized space or a sleek, modern getaway, this comprehensive guide to RV renovation ideas will help you achieve the camper of your dreams. We’ll cover everything from initial planning to the final touches, providing you with the best RV remodel ideas and camper renovation ideas. Let’s dive into the ultimate 12-step guide to remodeling your RV like a pro.
Step 1: Check for Any Mechanical or Structural Issues
Before you start on the aesthetic aspects and ideas of your camper remodel, it’s crucial to ensure that your RV is mechanically sound and structurally safe. Here’s a checklist of issues to look for:
- Engine and Transmission: Check for leaks, unusual noises, and performance issues.
- Brakes: Ensure the brakes are functioning correctly and check the brake pads for wear.
- Tires: Inspect tires for tread wear, cracks, or damage.
- Suspension: Look for any signs of wear or damage in the suspension system.
- Roof and Exterior: Check for leaks, rust, or damage to the roof and exterior walls.
- Plumbing: Inspect for leaks in the water lines, faucets, and tanks.
- Electrical System: Test all electrical components, including lights, outlets, and appliances.
- HVAC System: Ensure the heating and cooling systems are working properly.
Addressing these issues first ensures that your RV is safe to use and ready for the renovation process.
Step 2: Repair Any Damages
Once you’ve identified any mechanical or structural issues, it’s time to repair them. Here’s a detailed guide on how to address common problems:
- Engine Repairs: If you’re not experienced with engine repairs, it’s best to take your RV to a professional mechanic. Regular maintenance, such as oil changes and filter replacements, can often prevent larger issues.
- Brake Repairs: Replace worn brake pads and check the brake fluid levels. If the brakes feel spongy, it might be time to bleed the brake lines.
- Tire Replacement: If the tires are worn or damaged, replace them with new ones. Ensure they are properly inflated and balanced.
- Suspension Work: Replace any worn-out suspension components and ensure all bolts are tightened to the manufacturer’s specifications.
- Roof and Exterior Repairs: Patch any leaks with appropriate sealant, replace damaged panels, and remove rust with a rust converter and primer.
- Plumbing Fixes: Tighten any loose connections, replace faulty faucets, and repair or replace damaged water lines.
- Electrical Repairs: Replace blown fuses, fix faulty wiring, and ensure all electrical components are in working order.
- HVAC Maintenance: Clean or replace filters, check for leaks, and ensure the thermostat is functioning correctly.
By addressing these repairs, you ensure your RV or camper is in optimal condition before you start the more cosmetic aspects of the remodel renovation with your ideas.

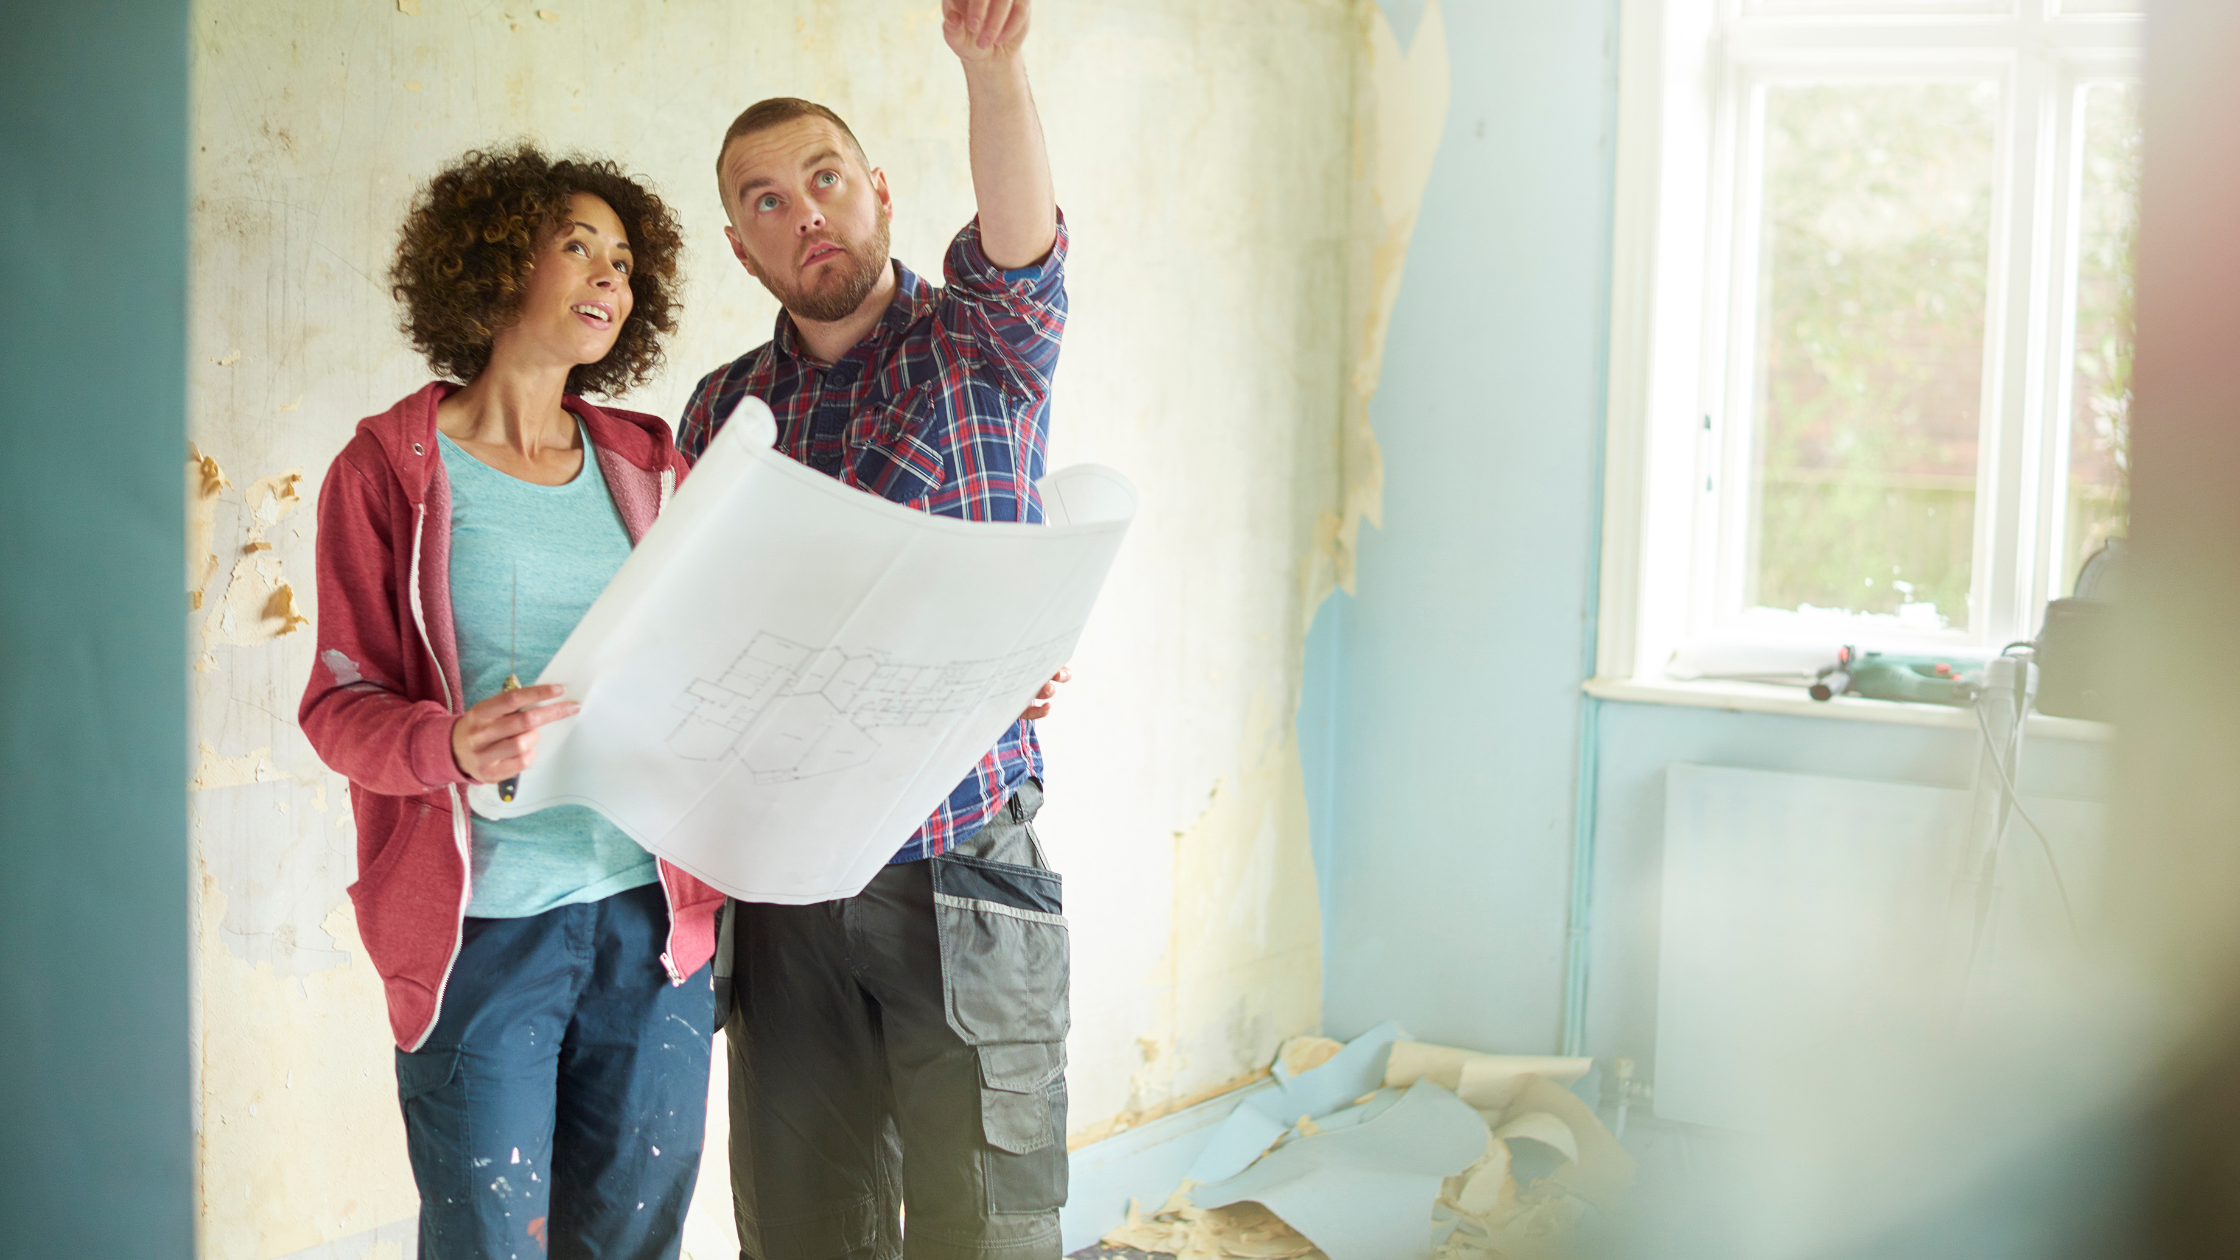
Step 3: Plan the RV Renovation
Planning is arguably the most important step in your RV renovation. A well-thought-out plan ensures you don’t miss any details and can stay within your budget.
- Set a Budget: Determine how much you’re willing to spend on the renovation. Include costs for materials, labor (if hiring professionals), and unexpected expenses.
- Create a Timeline: Outline a realistic timeline for your renovation project. Consider how much time you can dedicate each week and set milestones for each phase of the renovation.
- Design Inspiration: Gather RV and camper renovation ideas from Pinterest and Instagram. Create a vision board or digital album to collect your favorite designs and styles.
- Layout and Functionality: Sketch out a floor plan for your RV. Consider how you’ll use the space and what functionality is most important to you.
- Materials and Supplies: Make a list of all the materials and supplies you’ll need. This includes paint, flooring, fixtures, and furniture.
How Long Does It Take to Renovate an RV?
The duration of an RV or camper renovation varies depending on the project’s scope, your ideas and availability. On average, a comprehensive camper or RV remodel can take anywhere from a few weeks to several months depending on the extent of your ideas. Smaller projects might only take a few days. Proper planning and organization will help you stay on track and complete your renovation within your desired timeframe.
Where to Find RV Renovation Ideas?
Pinterest and Instagram are excellent resources for RV renovation inspiration. Search for hashtags like #RVrenovation, #camperremodel, and #vanlife to find a wealth of creative ideas and tips. Follow accounts that specialize in RV makeovers and save your favorite posts for reference.
Step 4: Demo the RV
With your plan in place, it’s time to start the demolition process. Here’s how to do it safely and effectively:
- Remove Fixtures: Carefully remove old fixtures, such as cabinets, countertops, and appliances. Use the appropriate tools to avoid damaging the RV’s structure.
- Take Down Walls: If you’re planning to reconfigure the layout, carefully take down any non-structural walls. Always check for electrical wiring and plumbing before making any cuts.
- Remove Flooring: Tear out the old flooring, including any carpet, vinyl, or laminate. Use a utility knife to cut through stubborn sections and a scraper to lift the flooring.
- Dispose of Debris: Dispose of all demolition debris responsibly. Rent a dumpster if necessary and follow local disposal regulations.
Step 5: Shop for the RV Renovation
Now that the old elements are out, it’s time to shop for everything you need for your RV renovation. Here’s what to keep in mind:
- Materials and Supplies: Purchase high-quality materials that are durable and suitable for an RV. This includes paint, flooring, and cabinetry.
- Furniture: Choose furniture that is lightweight and fits well within the RV’s dimensions. Look for multifunctional pieces to maximize space.
- Fixtures and Appliances: Shop for energy-efficient appliances and modern fixtures that complement your design style.
- Where to Buy: Consider shopping at home improvement stores, RV specialty shops, and online retailers. Compare prices and read reviews to ensure you’re getting the best value.
Step 6: Clean & Prep All the Surfaces
Before you start installing new elements, it’s crucial to clean and prep all surfaces:
- Vacuum and Dust: Remove any remaining dust and debris from the demolition process. Use a vacuum to clean hard-to-reach areas.
- Wash Surfaces: Wash walls, ceilings, and other surfaces with a mild detergent and water. This removes dirt, grease, and grime, ensuring a clean base for painting and installation.
- Sanding: Lightly sand surfaces that will be painted or have new flooring installed. This helps with adhesion and ensures a smooth finish.
- Priming: Apply primer to walls, cabinetry, and any surfaces that will be painted. This step is essential for achieving a professional-looking finish.
Step 7: Paint the Walls, Cabinetry & Doors
Painting is one of the most transformative steps in your RV renovation. Here’s how to do it:
- Choose the Right Paint: Select high-quality, durable paint designed for RV interiors. Consider using a semi-gloss or satin finish for easy cleaning.
- Prep the Area: Use painter’s tape to protect edges and cover floors and furniture with drop cloths.
- Apply Primer: Apply a coat of primer to ensure the paint adheres properly and to block any stains or dark colors.
- Paint Walls: Use a brush for edges and a roller for larger areas. Apply at least two coats for even coverage.
- Cabinetry and Doors: Remove cabinet doors and hardware. Paint them separately for a smooth finish. Use a brush or a spray gun for an even coat.
- Drying Time: Allow each coat to dry thoroughly before applying the next. Follow the paint manufacturer’s instructions for drying times.
Step 8: Add Inner Shelves or Separations for Organization
Maximize your RV’s functionality by adding inner shelves and separations:
- Measure and Plan: Measure the spaces where you want to add shelves or dividers. Plan their placement to optimize storage and accessibility.
- Materials: Use lightweight yet sturdy materials such as plywood or MDF. Consider using pre-finished shelving for a professional look.
- Cutting and Assembly: Cut the shelves and dividers to size using a saw. Sand the edges for a smooth finish. Assemble using brackets, screws, or wood glue.
- Installation: Secure the shelves and dividers in place, ensuring they are level and properly supported. Use additional brackets if necessary for added stability.
Step 9: Install Flooring
New flooring can dramatically change the look and feel of your RV. Here’s how to install it:
- Choose Flooring: Select durable, water-resistant flooring such as vinyl planks, laminate, or engineered wood. These materials are ideal for the RV environment.
- Prep the Subfloor: Ensure the subfloor is clean, dry, and level. Repair any damage and remove any old adhesive.
- Acclimate Flooring: Allow the new flooring to acclimate to the RV’s environment for at least 48 hours before installation.
- Cut and Fit: Measure and cut the flooring to fit the space. Use a utility knife or saw for precise cuts.
- Install: Start from one corner and work your way across the room. Follow the manufacturer’s instructions for installation, whether it’s click-lock, glue-down, or peel-and-stick.
- Finishing Touches: Install transition strips and baseboards to cover any gaps and provide a finished look.
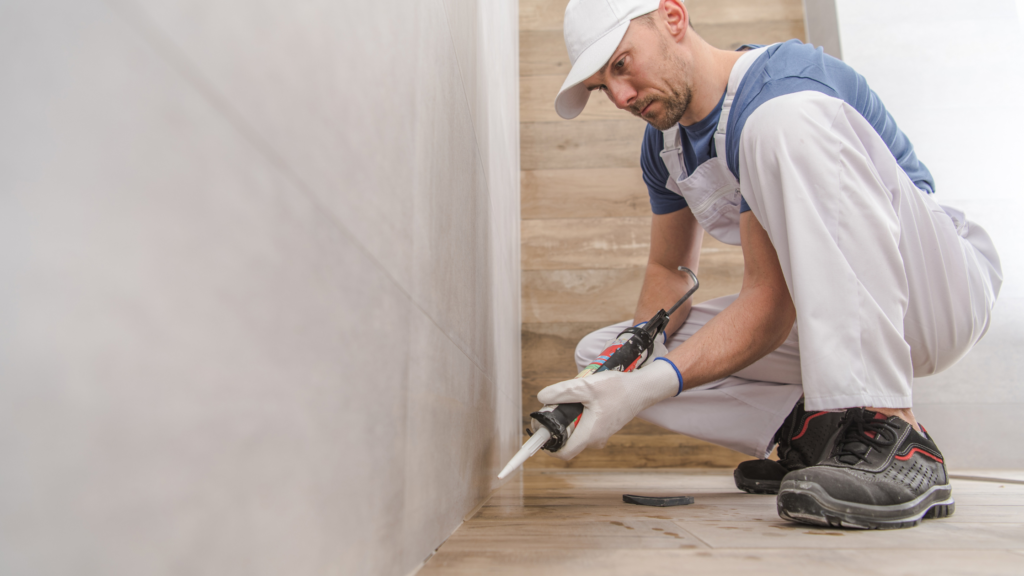
Step 10: Add Peel and Stick Backsplash
Adding a peel-and-stick backsplash is an easy and effective way to remodel your RV or camper kitchen or bathroom:
- Choose Design: Select a peel-and-stick backsplash that complements your overall design theme. These come in various styles, from classic subway tiles to modern geometric patterns.
- Clean the Surface: Ensure the wall surface is clean, dry, and smooth. Use a degreaser if necessary.
- Measure and Cut: Measure the area and cut the backsplash sheets to fit. Use a utility knife or scissors for precise cuts.
- Apply: Peel off the backing and carefully apply the backsplash to the wall, starting from one corner. Press firmly to ensure good adhesion.
- Smooth Out: Use a smoothing tool or a flat object to remove any air bubbles and ensure the backsplash is flat against the wall.
Step 11: Install New Light Fixtures
Updating light fixtures can significantly enhance the ambiance of your RV:
- Choose Fixtures: Select energy-efficient, stylish light fixtures that fit your RV’s design. Consider LED options for their low energy consumption and longevity.
- Turn Off Power: Ensure the power is turned off at the breaker before starting any electrical work.
- Remove Old Fixtures: Carefully remove the old light fixtures, keeping track of any screws and wiring.
- Install New Fixtures: Connect the new fixtures according to the manufacturer’s instructions. Secure them in place and ensure all connections are tight.
- Test: Turn the power back on and test the new fixtures to ensure they are working correctly.
Step 12: Add New Furniture
The final step in your RV renovation is adding new furniture:
- Choose Furniture: Select furniture that is lightweight, durable, and fits the space well. Consider multifunctional pieces like sofa beds or foldable tables.
- Arrange: Place the furniture in the desired locations, ensuring it doesn’t obstruct movement or functionality.
- Secure: Secure furniture to the RV’s floor or walls to prevent it from shifting during travel. Use brackets or straps designed for RV use.
- Decorate: Add decorative touches like throw pillows, rugs, and wall art to personalize your space and make it feel like home.
Experience the Nation’s #1 RV Skirting Solution!
Don’t compromise on quality or convenience when it comes to your protecting your newly renovated RV. At Custom Skirting we blueprint and custom-tailor your RV skirting on-site, ensuring a flawless fit that provides unparalleled protection. Our exclusive “No-Snap, No-Gap” channel system seals out water, snow, and wind more effectively than any other product on the market. With over a decade of testing and improvements, our skirting has faced the harshest winters across the northern United States and Canada, emerging as the top choice for RV enthusiasts. Plus, its user-friendly design is ready to move with you whenever adventure calls.
Get Custom Skirting today, and add the finishing touch to your camper remodel!