RV Hookups 101: Essential Guide for Your Home on Wheels
Table of contents
Embarking on an RV adventure is an exhilarating experience, but to ensure your trip goes smoothly, it’s crucial to understand the essentials of rv hookups. From rv electrical hookups to water and sewer connections, mastering the art of setting up your rv hookup is vital for a comfortable and hassle-free journey. In this guide, we’ll dive into everything you need to know about campground electrical hookups and camper electrical hookups, ensuring you’re well-prepared for any RV park or campground you visit.
Understanding RV Hookups
RV hookups are essential connections that allow your RV to access electricity, water, and sewer services provided at campgrounds and RV parks. These hookups are crucial for maintaining the comfort and functionality of your home on wheels. There are typically three main types of hookups available:
- Camper Electrical Hookups: Provide power to your RV’s electrical system.
- Water Hookups: Supply fresh water to your RV.
- Sewer Hookups: Allow for the disposal of wastewater.
Full Hookups vs. Partial Hookups
- Full Hookups: Include connections for electricity, water, and sewer, offering maximum convenience.
- Partial Hookups: May only include electrical and water connections, requiring alternative solutions for wastewater disposal.
Understanding the differences between full and partial hookups, as well as the concept of boondocking (camping without hookups), will help you plan your trips more effectively.
Electrical Hookups
Camper electrical hookups are the lifeblood of your RV’s power system. They ensure you have the electricity needed to run appliances, charge devices, and maintain a comfortable living environment.
30-Amp vs. 50-Amp Service
- 30-Amp Service: Suitable for smaller RVs, providing 3,600 watts of power.
- 50-Amp Service: Used by larger RVs, offering 12,000 watts of power.
To determine which service your RV needs, check your RV’s electrical system specifications.
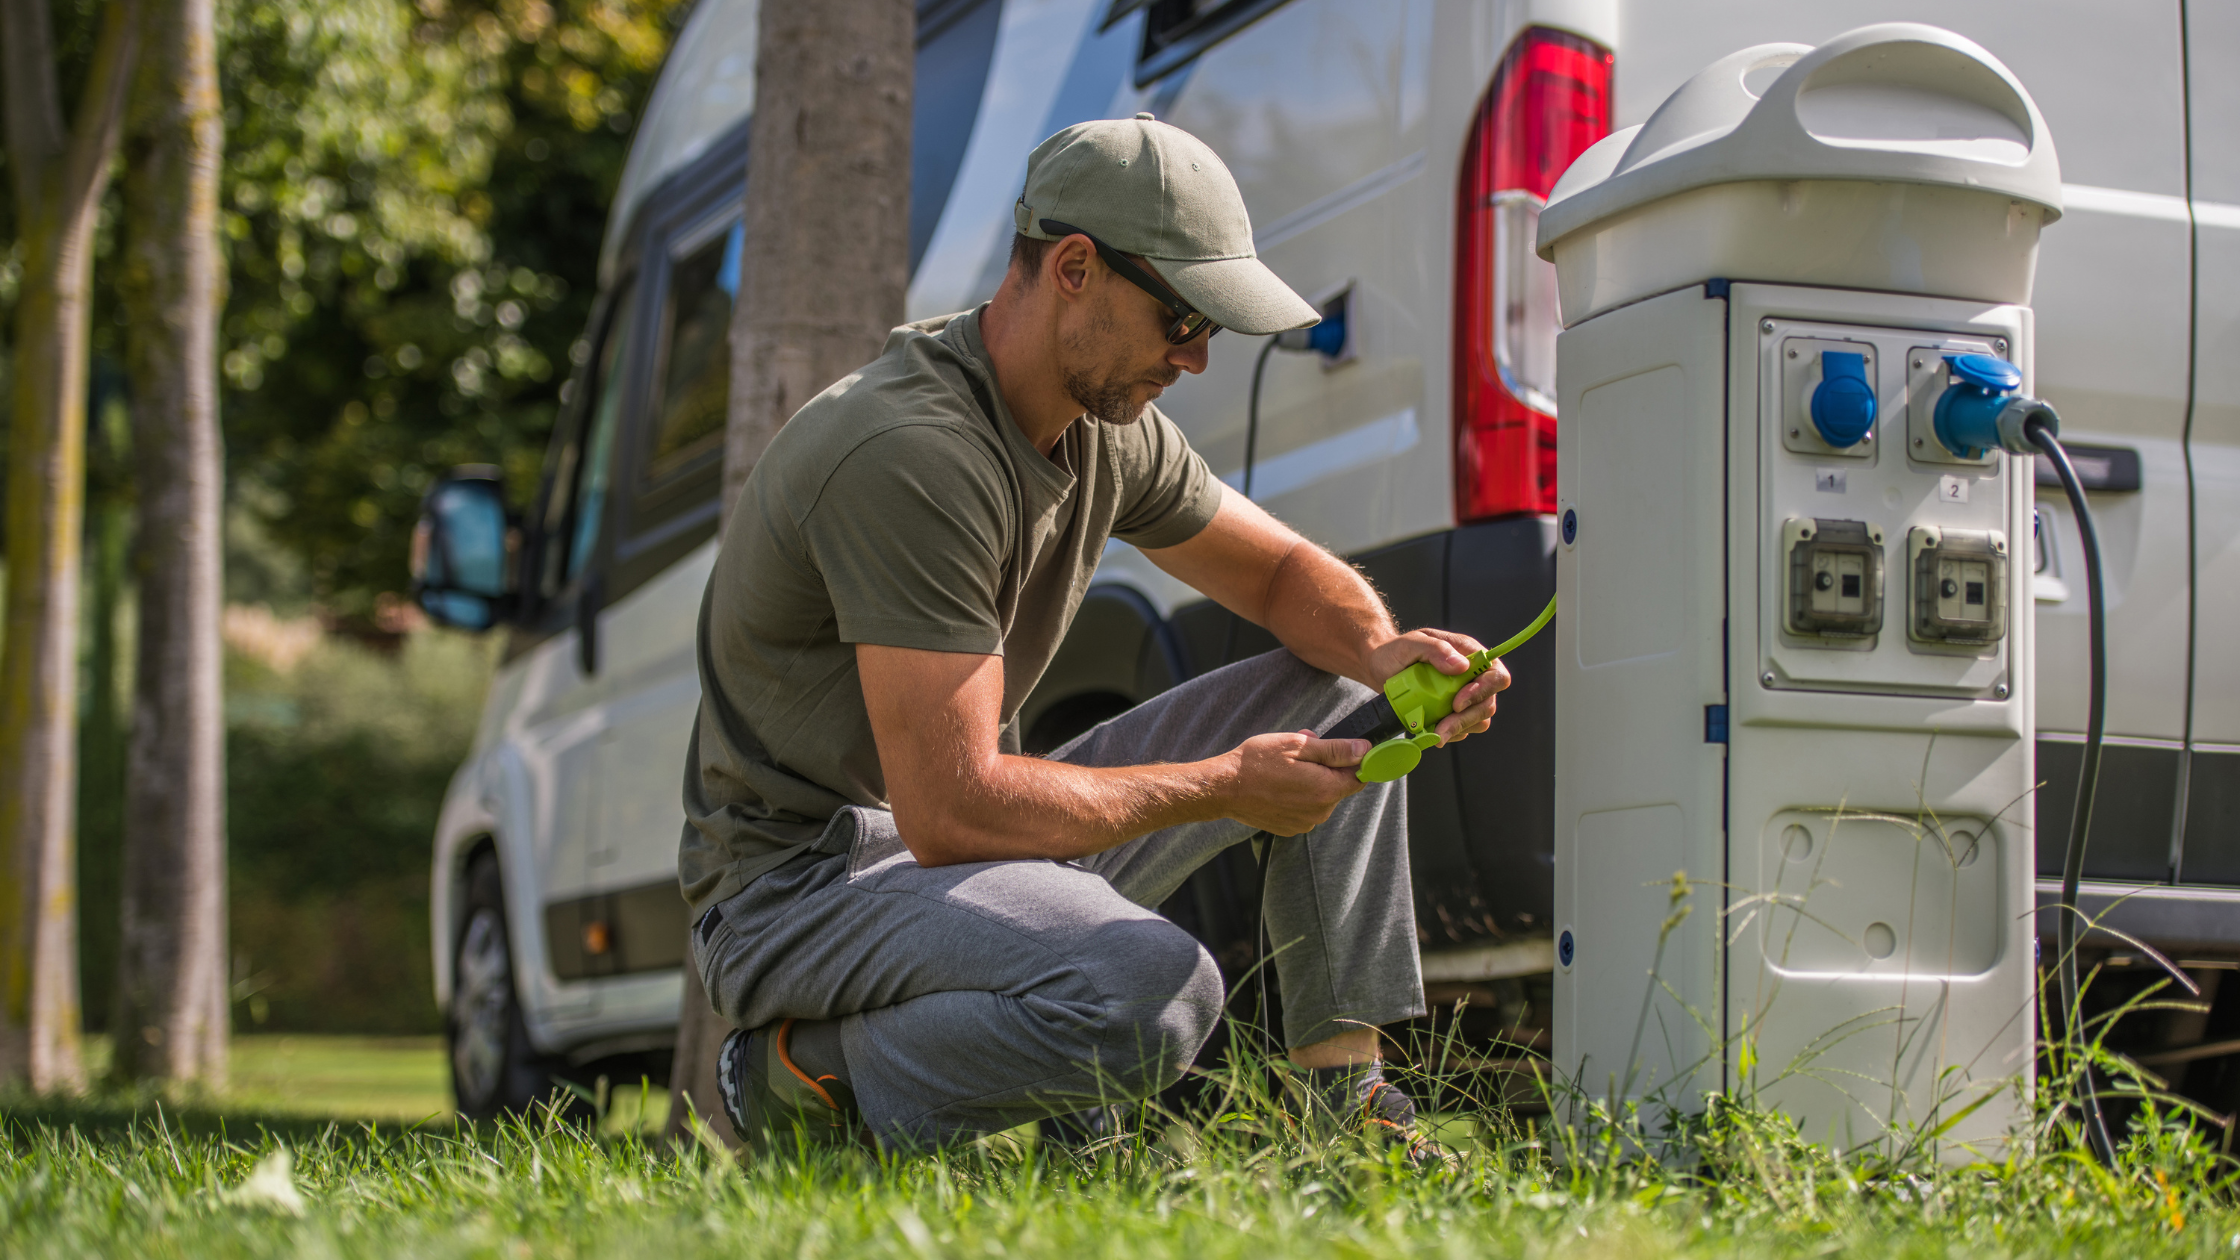
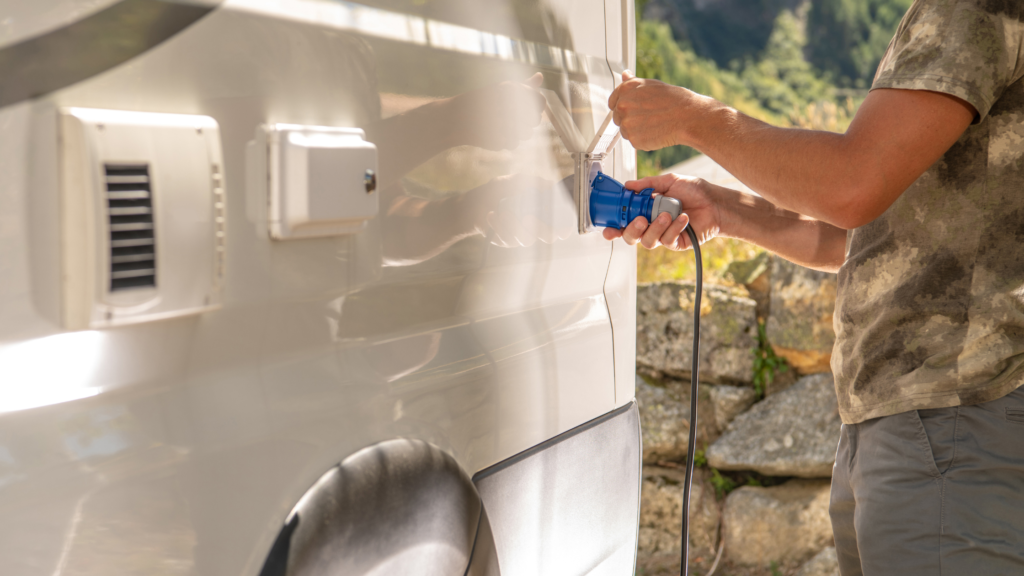
Connecting to Campground Electrical Camper Hookups
- Locate the power pedestal at your campsite.
- Ensure the power switch is turned off.
- Plug your RV’s power cord into the appropriate outlet (30-amp or 50-amp).
- Turn on the power switch at the pedestal.
Safety Tips
- Use adapters if your RV’s plug doesn’t match the pedestal’s outlet.
- Invest in a surge protector to protect your RV from power surges.
- Be aware of common electrical issues, such as low voltage and tripped breakers, and know how to troubleshoot them.
Water Hookups
Connecting to a campground’s water supply is straightforward but requires some essential equipment and precautions.
Steps for Connecting to Water Hookups
- Use a potable water hose to connect your RV to the campground’s water spigot.
- Attach a water pressure regulator to the spigot to prevent damage to your RV’s plumbing system.
- Connect the hose to your RV’s city water inlet.
Enhancing Water Quality
- Install a water filtration system to improve the taste and safety of your water.
- Regularly maintain and sanitize your RV’s water system to prevent contamination.
Sewer Hookups
Properly managing wastewater is critical for maintaining hygiene and avoiding unpleasant odors.
Connecting to Sewer Hookups
- Connect a sewer hose to your RV’s waste outlet.
- Attach the other end of the hose to the campground’s sewer inlet.
- Use a sewer hose support to ensure a steady flow of wastewater.
Dumping Tanks
- Open the black tank valve first, followed by the gray tank valve to flush the system.
- Clean the sewer hose thoroughly before storing it.
For campsites without sewer hookups, you can use dump stations to empty your tanks.

TV and Internet Hookups
Staying connected on the road enhances your RV experience. Here’s how to access TV and internet services:
TV Hookups
- Connect to campground cable TV services using a coaxial cable.
- Consider installing a satellite TV system for more channel options.
Internet Connectivity
- Use cellular hotspots for reliable internet access.
- Take advantage of campground Wi-Fi, but be aware of potential connectivity issues.
Setting Up RV Hookups at Home
Creating a convenient setup at home allows for easier maintenance and preparation for trips.
Electrical Requirements
- Install a dedicated 30-amp or 50-amp outlet, depending on your RV’s needs.
- Ensure proper grounding and compliance with local electrical codes.
Water and Sewer Considerations
- Set up a potable water hose connection.
- For sewer, you may need to install a cleanout fitting and obtain any necessary permits.
Troubleshooting Common Hookup Issues
Encountering problems with your RV hookups is inevitable, but knowing how to resolve them can save you time and frustration.
Common Issues and Solutions
- Power Surges: Use a surge protector and check connections regularly.
- Water Pressure Problems: Always use a water pressure regulator.
- Sewer System Clogs: Ensure proper use of a sewer hose support and follow correct dumping procedures.
Preventive Maintenance
Regularly inspect and maintain your RV hookup equipment to avoid issues. Clean and sanitize water systems, check electrical connections, and replace worn-out hoses and cables.
RV Hookups FAQs
What is the most common RV electrical hookup?
The most common RV electrical hookup is the 30-amp service, suitable for smaller RVs.
How to make an RV hookup?
To make an RV hookup, connect your RV’s power cord to the campground’s power pedestal, attach a potable water hose to the water spigot, and connect a sewer hose to the sewer inlet.
How many amps for RV hookup?
RV hookups typically require either a 30-amp or 50-amp service, depending on the RV’s electrical system.
Can you run a 30 amp RV on a 110 outlet?
Yes, you can run a 30-amp RV on a 110 outlet using an adapter, but it’s not recommended for extended use due to limited power capacity.
Can I safely plug a 30 amp RV into 50 amps?
Yes, you can safely plug a 30-amp RV into a 50-amp outlet using a proper adapter, but ensure you don’t overload the RV’s electrical system.
Understanding and mastering RV hookups is essential for a seamless RVing experience. By following this guide, you’ll be well-equipped to handle RV electrical hookups, water connections, and sewer management with confidence and ease. Enjoy your adventures on the open road, knowing you have the knowledge to keep your RV running smoothly.
Upgrade Your RV Setup with Custom Skirting: The Ultimate Protection
Ready to take your RV experience to the next level? After mastering the essentials of RV hookups, ensure your RV is fully protected with the nation’s #1 RV skirting solution. Our Custom Skirting is not just about appearance—it’s about providing unparalleled protection and convenience.
Why Choose Custom Skirting?
- Flawless Fit: We blueprint and custom-tailor your RV skirting on-site, ensuring a perfect fit every time.
- Superior Protection: Our exclusive “No-Snap, No-Gap” channel system seals out water, snow, and wind more effectively than any other product on the market.
- Tested and Proven: With over a decade of testing and improvements, our skirting has faced the harshest winters across the northern United States and Canada, emerging as the top choice for RV enthusiasts.
- User-Friendly Design: Designed to move with you whenever adventure calls, making setup and takedown a breeze.
Don’t compromise on quality or convenience. Book Custom Skirting today and get a $200 credit towards your stay at our RV Park Black Hawk Creek. Secure your RV against the elements and enjoy peace of mind on every journey.
Get Custom Skirting now, and make your RV truly feel like home, no matter where the road takes you.