How to Wire a 50 Amp RV Plug: Guide for RV Owners
Table of contents
- Understanding 50 Amp RV Plugs
- Tools and Materials Needed
- Step-by-Step Wiring Process
- Testing the Wired Plug
- Common Mistakes and Troubleshooting
- Safety Considerations and Best Practices
- Understanding RV Electrical Systems
- Maximize Your RV’s Efficiency: Add Custom Skirting for Ultimate Performance
- Related Articles
When you’re out on the open road, your RV’s electrical system plays a critical role in powering appliances, lights, and other essential equipment. For RV owners with larger, power-hungry rigs, understanding how to wire a 50 amp RV plug with 3 wires is essential. This guide will take you through the process step-by-step, explaining the how to wire a 50 amp RV outlet and offering practical tips for a safe, reliable electrical connection. Whether you’re upgrading your RV’s power setup or simply replacing an old plug, this article covers everything you need to know.
It’s crucial to recognize that incorrect wiring can pose serious risks, from electrical shocks to fire hazards. When learning how to wire a 50 amp RV outlet, remember that this guide offers comprehensive instructions, but electrical work requires careful attention to detail and should only be attempted if you feel confident in your skills. If you’re unsure about any step, consulting a professional electrician is always the safest choice.
Understanding 50 Amp RV Plugs
Before you begin wiring, it’s essential to understand what makes a 50 amp RV plug different from others. The most significant distinction between 50 amp and 30 amp plugs lies in their configuration and the type of electrical current they carry.
A 50 amp plug has four prongs: two hot wires, one neutral, and one ground wire. This setup provides 120/240-volt split-phase power, which is ideal for powering larger RVs and the many high-power appliances inside, such as air conditioners, microwaves, and refrigerators. In contrast, a 30 amp RV plug only has three prongs and provides 120-volt single-phase power, which is sufficient for smaller RVs with fewer electrical needs.
The two hot wires in the 50 amp setup allow you to draw 120 volts from each of the hot wires, effectively splitting the load between them and enabling the simultaneous use of more appliances without overloading the circuit. The neutral wire completes the circuit, while the ground wire ensures safety by providing a path for electrical faults to be safely directed to the earth.
In simpler terms, 50 amp RV plugs are essential for large RVs with high electrical demands. Understanding this will help you determine whether wiring a 50 amp RV plug is the right choice for your vehicle.
Tools and Materials Needed
Before you start wiring, gather the necessary tools and materials. Here’s a checklist:
Tools:
- Wire Strippers – To strip the insulation from the wires.
- Screwdrivers – For tightening the screws on the plug terminals.
- Multimeter – To check the voltage and ensure proper polarity.
- Pliers – For bending or twisting wires.
- Insulated Gloves and Safety Glasses – For personal safety.
- Electrical Tape – To secure any loose wiring if necessary.
Materials:
- 50 Amp RV Plug – A 50 amp, 4-prong plug for your electrical connection.
- 12/3 or 10/3 Gauge Electrical Cable – Choose the appropriate gauge based on the distance from the outlet and the load you plan to carry.
- Wire Connectors – To join wires where necessary.
- Cable Clamp or Strain Relief – To protect the cable from damage where it enters the plug.
Tip: Always double-check the wire gauge required for your setup. A thicker wire (lower gauge number) is essential for 50 amp systems to handle the high load.
Step-by-Step Wiring Process
Preparing the Cable
The first step is to prepare the electrical cable. Measure the required length of cable to wire your 50 amp plug with 3 wires to the outlet. Ensure you have enough length to reach your power source without excessive slack. Once you have the correct length, strip the outer insulation carefully using a wire stripper. Be sure not to damage the inner wires.
Identifying and Preparing Individual Wires
Once you’ve stripped the outer insulation, you will notice four individual wires. The colors of these wires are crucial in ensuring you connect everything correctly:
- Black and Red Wires: These are your hot wires.
- White Wire: This is the neutral wire.
- Green Wire: This is the ground wire.
Next, use the wire stripper to remove about 1 inch of insulation from each wire, exposing the copper underneath. Be careful not to nick the copper wire itself, as this can weaken the connection.
Connecting Wires to the Plug
Now it’s time to connect the wires to the 50 amp RV plug. The plug should have clearly labeled terminals for each wire.
- Black Wire: Attach this wire to the first hot terminal (usually marked L1).
- Red Wire: Attach this wire to the second hot terminal (usually marked L2).
- White Wire: This connects to the neutral terminal.
- Green Wire: This goes to the ground terminal.
Ensure each wire is securely connected, and the screws are tightly fastened to avoid any loose connections. It’s critical to double-check the orientation of each wire to ensure they are connected to the correct terminal. Improper connections could result in malfunctioning appliances or, worse, electrical fires.
Assembling the Plug
After connecting the wires, assemble the plug by carefully securing the housing back into place. Ensure that no wires are pinched or exposed. Tighten the screws on the plug casing and make sure it’s fully closed to prevent any moisture or debris from entering the plug.
Testing the Wired Plug
Once the wiring is complete, it’s time to test the plug using a multimeter. Before performing any tests, make sure the power is off, and you’ve taken all necessary safety precautions.
- Set your multimeter to measure AC voltage.
- Test between the two hot terminals (L1 and L2) to ensure you have the correct 240 volts.
- Test between each hot terminal (L1, L2) and the neutral terminal. You should see 120 volts from each hot to neutral.
- Finally, check the ground terminal to ensure there is no voltage on the ground wire, confirming the ground is properly wired.
If the readings are as expected, your 50 amp RV plug is wired correctly and ready for use.
Common Mistakes and Troubleshooting
Wiring mistakes can happen, especially if you’re new to electrical work. Here are some common issues and how to troubleshoot them:
Reversed Polarity
If the voltage readings show reversed polarity, meaning the hot and neutral wires are swapped, you may notice electrical equipment not working properly or even damage to appliances. To fix this, simply swap the connections on the plug.
Loose Connections
If you have loose connections, your appliances may work intermittently or fail to power up. Always ensure that each wire is tightly secured to its terminal. Use a multimeter to check the voltage at the plug to verify proper function.
Incorrect Wire Placement
If you’ve accidentally placed a wire on the wrong terminal, the plug will not function as intended. Double-check the wire colors and corresponding terminal labels, and make corrections if necessary.
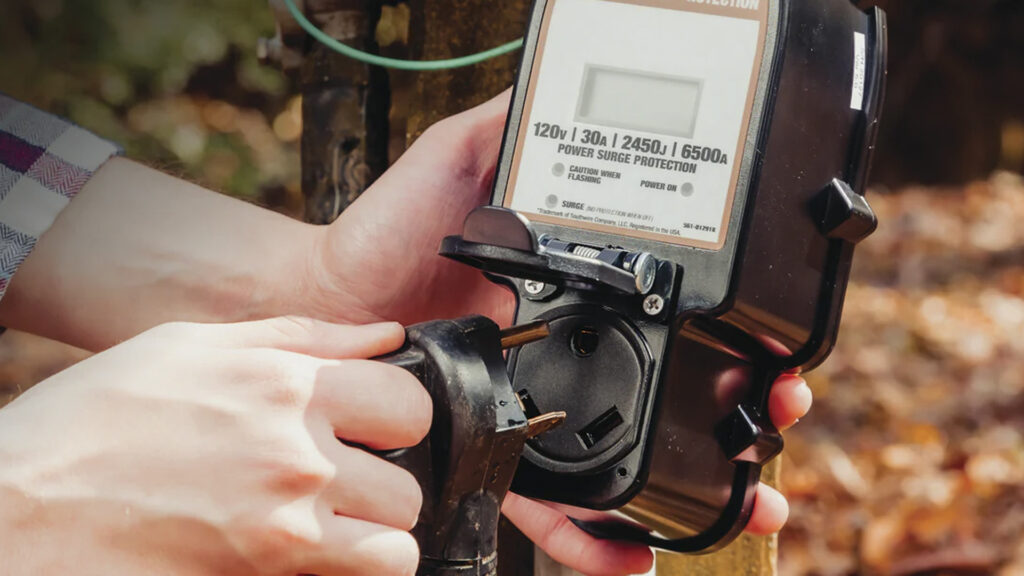
Safety Considerations and Best Practices
Electrical safety is paramount. Here are some best practices to follow:
- Power Off: Always ensure the power is off before starting any electrical work.
- Wear Safety Gear: Use insulated gloves and safety glasses to protect yourself from electrical shock or flying debris.
- Proper Insulation: Make sure all wires are properly insulated to prevent shorts and electrical fires.
- Regular Inspections: Periodically inspect your RV’s electrical system for wear and tear. Faulty wiring can become dangerous over time.
If you are not confident in your electrical abilities, it’s always best to call a licensed electrician.
Understanding RV Electrical Systems
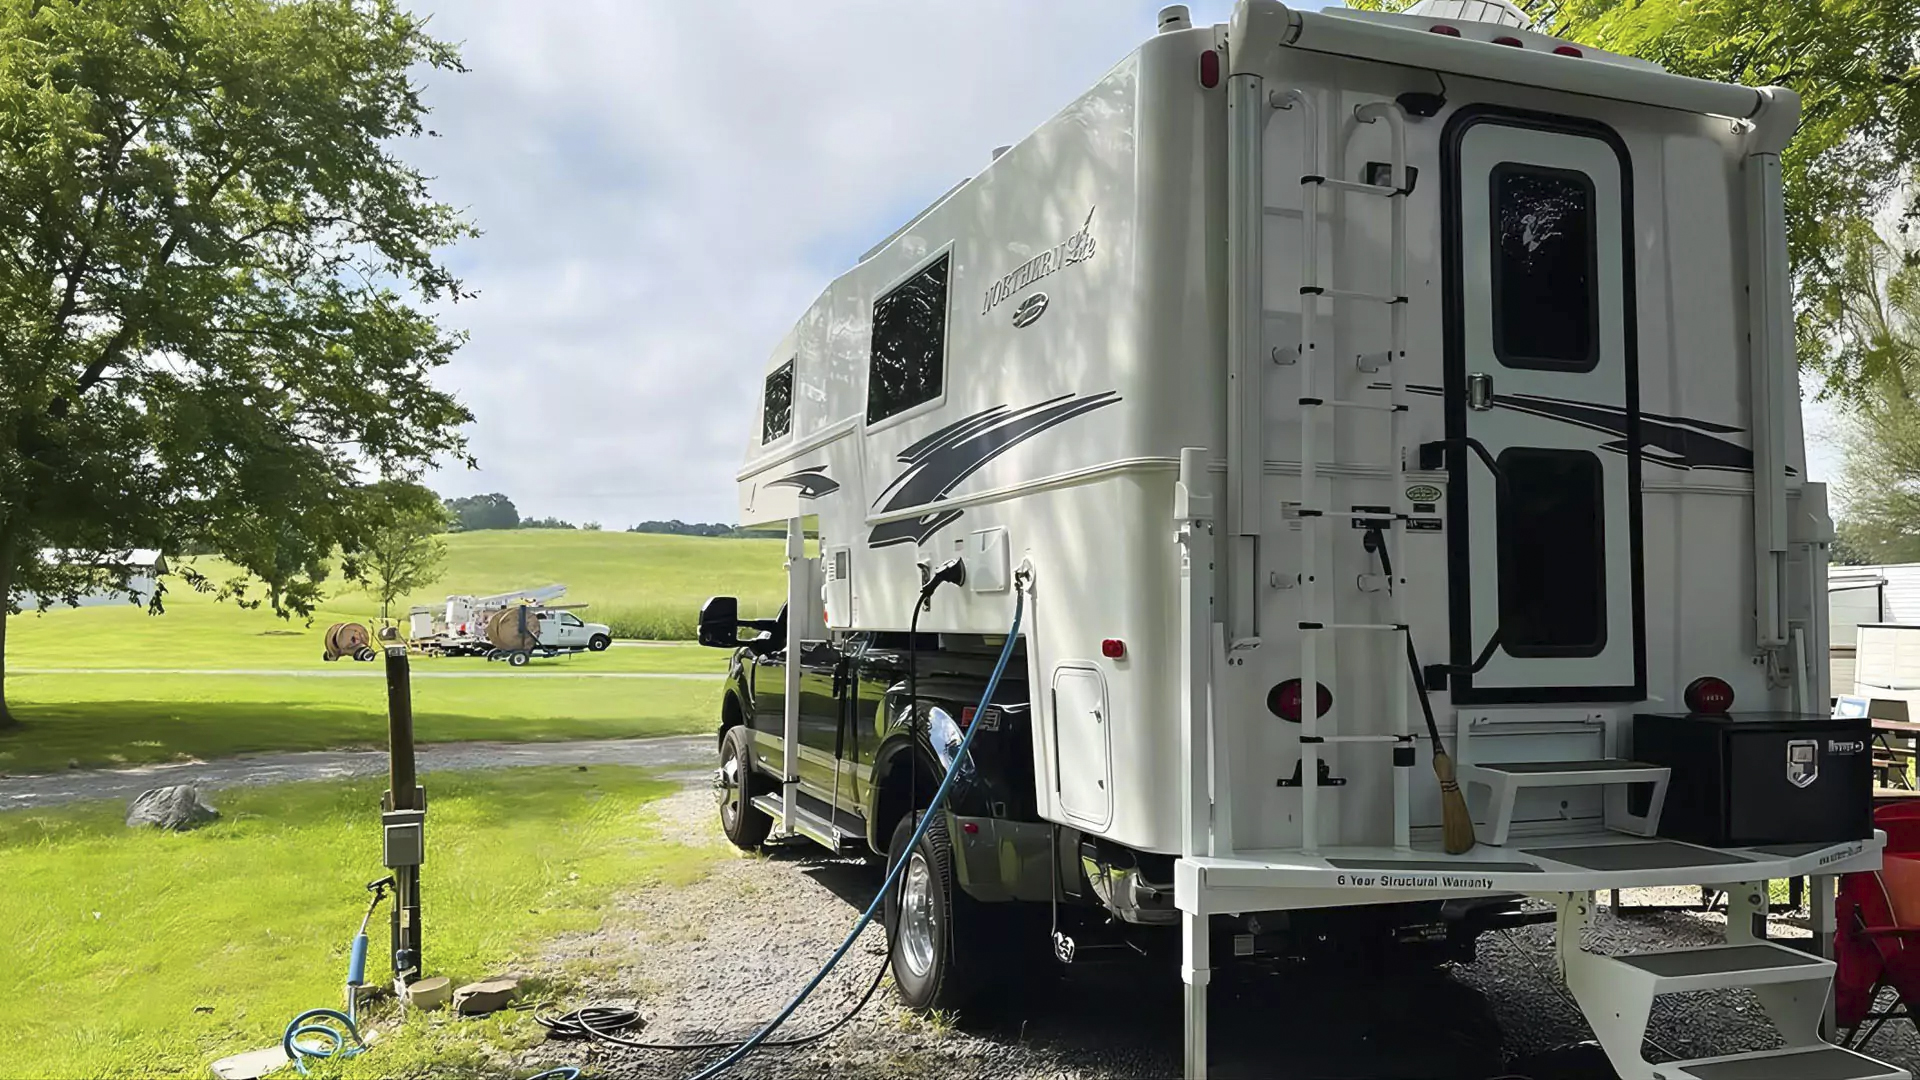
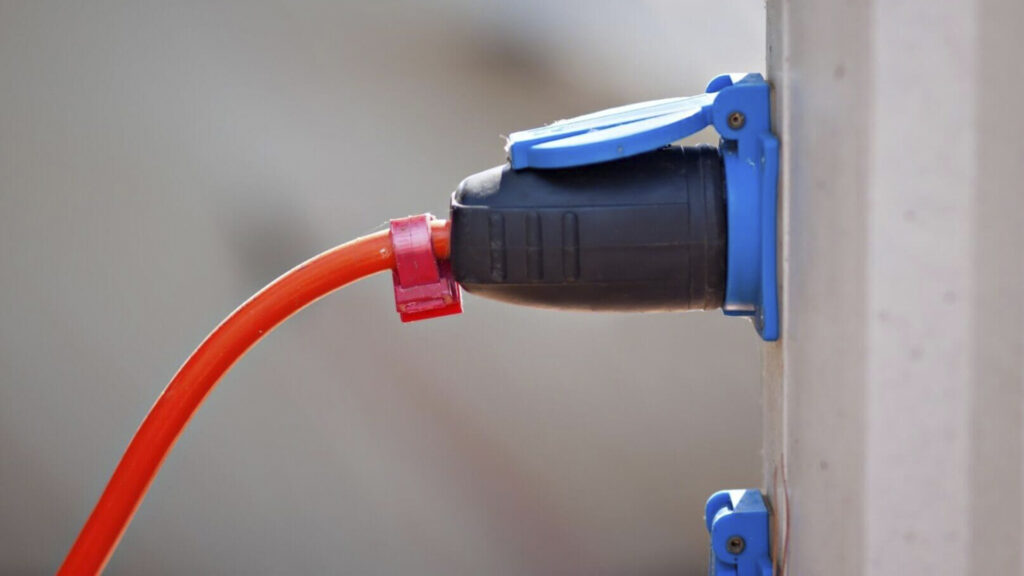
The 50 amp plug is just one part of the overall RV electrical system. Shore power is the term used when you connect your RV to an external electrical source, like a campsite outlet. The power then flows into the RV, where it is distributed to various systems through the converter or inverter. Understanding how this power is managed will help you better care for your RV’s electrical system and avoid overloading it.
A 50 amp system allows for more appliances to be powered simultaneously, with the two hot wires and neutral wire ensuring that both 120V and 240V systems can run in tandem.
Now that you know how to wire a 50 amp RV plug, you can ensure that your RV is safely and efficiently powered for all your adventures. Whether you are wiring a new 50 amp RV outlet or replacing an old 50 amp plug, following the correct steps and understanding the process can make all the difference. Remember that safety is key, and if you ever feel unsure about the wiring process, consulting a professional is always a wise choice.
Maximize Your RV’s Efficiency: Add Custom Skirting for Ultimate Performance
Ready to take your RV’s electrical system and comfort to the next level? Enhance your RV with Custom Skirting to complement your newly wired 50 amp RV plug. Not only does it provide thermal insulation to reduce the strain on your heating and cooling systems, but it also helps keep the temperature inside your RV more consistent. This means better energy efficiency and fewer electrical issues, ensuring that your modifications work seamlessly.
Experience the Nation’s #1 RV Skirting Solution!
Our expert team custom-tailors your RV skirting on-site, ensuring a perfect fit that offers superior protection against water, snow, and wind. With over a decade of proven performance in the harshest conditions, you can trust that our skirting will stand up to the toughest elements and help maintain your RV’s efficiency year-round.
Get your Custom Skirting today and ensure your RV’s electrical system works as efficiently as possible!