How to Winterize a Camper: A Complete Guide for RV Owners
Table of contents
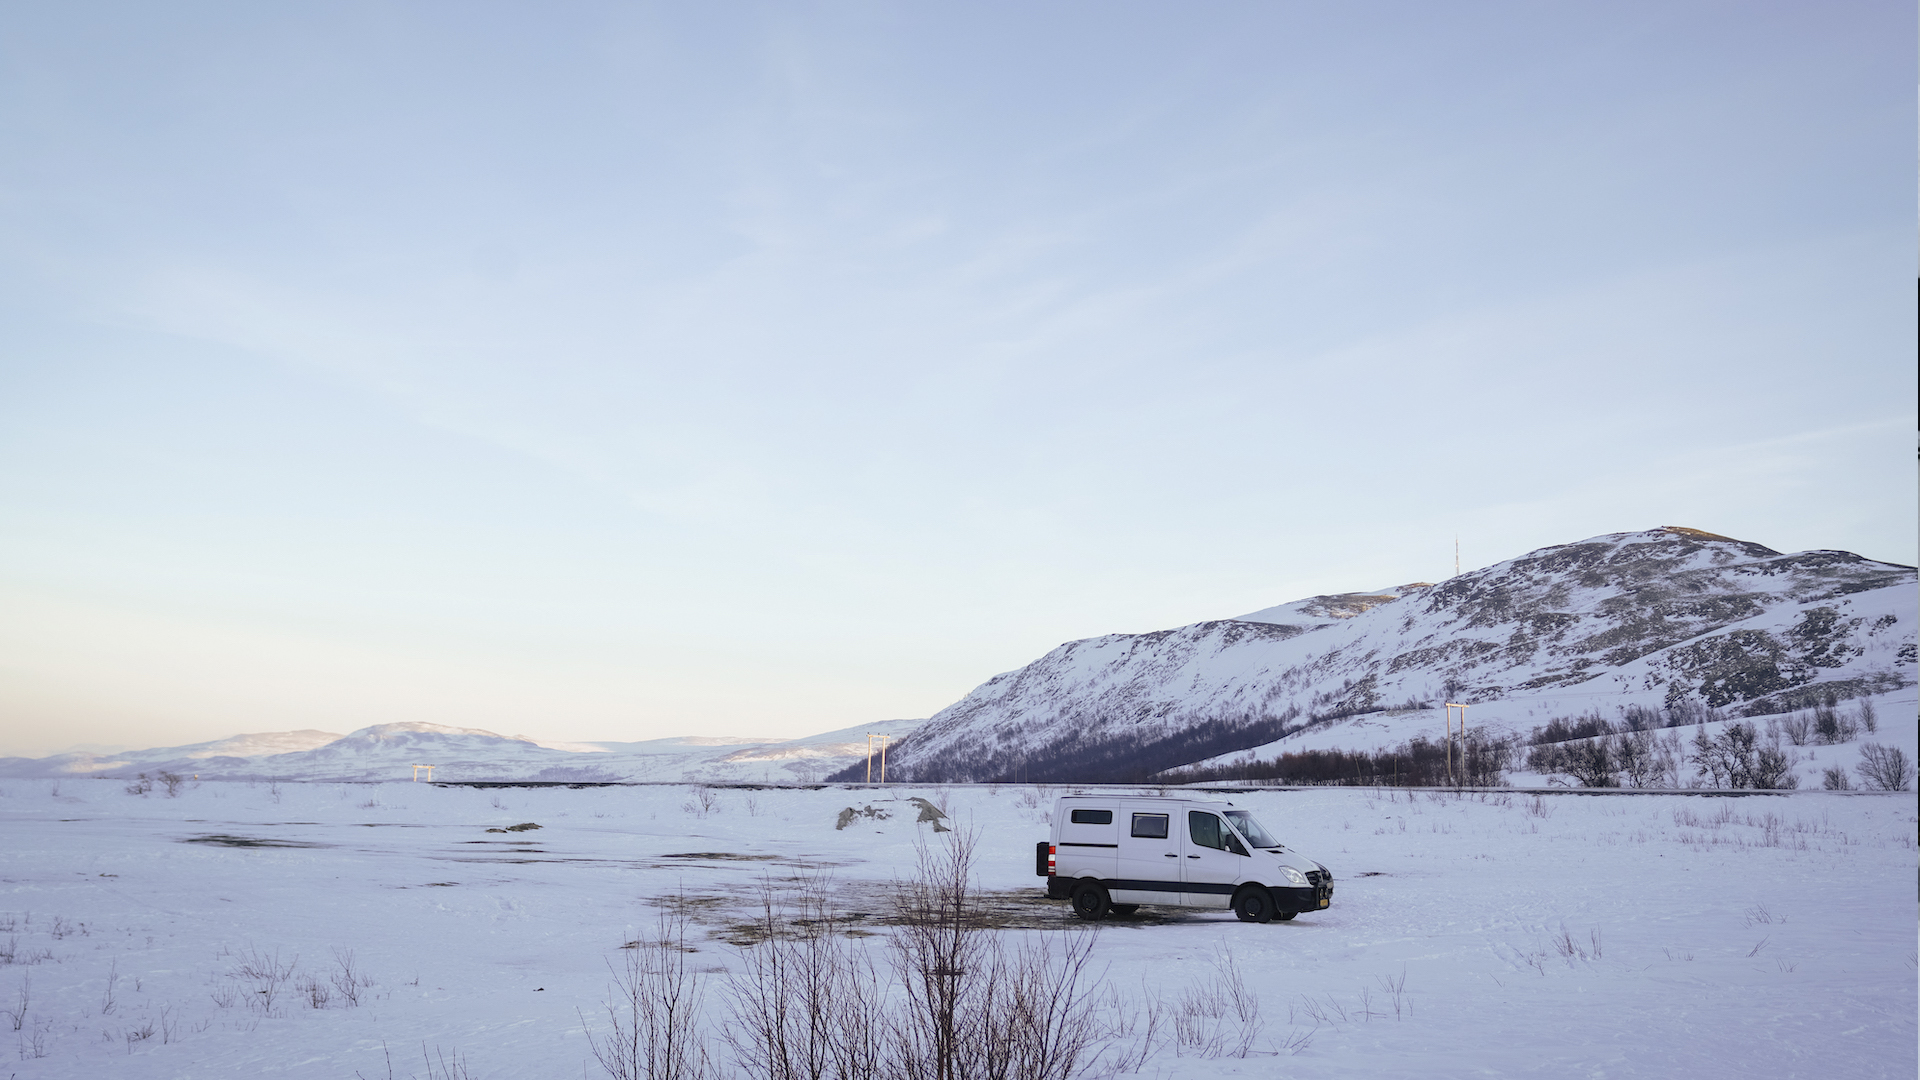
Winterizing a camper is one of the most important tasks an RV owner can undertake to protect their investment and avoid costly repairs. With freezing temperatures just around the corner, it’s essential to properly winterize an RV, camper, or travel trailer to safeguard against the damaging effects of frost. Freezing temperatures can cause water lines to burst, resulting in significant damage to your plumbing and appliances. Properly winterizing your camper will help prevent these issues, ensuring that your RV stays in good condition and ready for use when warmer weather returns. This comprehensive guide will walk you through how to winterize a camper with easy-to-follow, step-by-step instructions. Whether you are a seasoned RV owner or a first-timer, this guide will help you prepare your RV for the winter season, so you can rest assured knowing your camper is properly protected.
Understanding the Importance of Winterization
Winterizing a camper isn’t just a precaution—it’s an essential step to maintain the longevity and functionality of your RV. Freezing temperatures can wreak havoc on your camper’s plumbing system, appliances, and exterior. If water is left in your pipes, it will freeze and expand, leading to burst pipes, cracked fittings, and severe water damage. In addition to plumbing issues, appliances like water heaters, ice makers, and washing machines can freeze and become damaged, potentially costing hundreds or even thousands of dollars in repairs.
By learning how to winterize a travel trailer properly, you’ll ensure that the plumbing, electrical system, and other vital components are protected. Moreover, winterizing your camper doesn’t just prevent damage—it also helps extend the life of your RV, preserving its value and usability for years to come. Let’s dive into the steps for winterizing a camper to ensure your RV survives the winter and is ready for the next adventure.
Essential Tools and Materials
Before beginning the winterizing a camper process, gather all the necessary tools and materials to complete the job efficiently. Here’s a list of what you’ll need:
- RV Antifreeze: Always use RV-specific antifreeze, which is non-toxic and safe for your plumbing system. This differs from automotive antifreeze, which contains chemicals that can harm the system.
- Water Pump Converter Kit: This device allows you to pump antifreeze into your water system without using the RV’s water pump.
- Air Compressor: An air compressor will help you blow out any remaining water from your pipes.
- Basic Hand Tools: A wrench, screwdriver, and pliers will be needed for draining water systems and bypassing your water heater.
- Drainage Equipment: Make sure you have a proper drainage hose and containers for removing water from the camper’s system.
- RV Tire Covers and Battery Maintainer: Protect your tires from the elements and keep your battery in good condition during winter storage.
With these materials in hand, you’re ready to begin the winterize camper process.
Step-by-Step Winterization Process
1. Drain the Water System
The first and most crucial step in how to winterize a camper is draining all the water from the system. This includes the fresh water tank, water lines, and hot water heater. Begin by locating the water pump, fresh water tank, and low-point drains. Open all faucets inside the camper, as well as any external water connections, to allow water to flow out.
For the water heater, first turn off the power and allow it to cool. Open the drain valve and empty the tank. Be careful when handling the hot water heater—water can be very hot, and you should let it cool before draining to avoid burns.
Next, locate the low-point drains (typically near the water tank or under the camper) and open them to let any remaining water flow out. It’s essential to remove as much water as possible before proceeding to the next steps in how to winterize a travel trailer.
2. Bypass the Water Heater
To avoid wasting valuable antifreeze, bypass the water heater during the winterization process. This step involves closing the valves leading to the water heater and rerouting the water flow. By bypassing the water heater, you won’t need to fill it with antifreeze, saving you time and antifreeze solution. Follow your manufacturer’s instructions to properly close the valves and bypass the unit.
3. Blow Out the Water Lines
Now that your water system is drained, it’s time to blow out any remaining water from the lines using an air compressor. Attach the air compressor to the water intake and set the PSI to about 30-40 PSI. Open each faucet and shower head to allow the air to push any remaining water out of the lines. Be sure to run the air through both hot and cold lines, including outdoor showers or exterior faucets.
Blowing out the water lines is essential to ensure that there is no standing water that could freeze and damage your pipes. This step is one of the most critical in winterizing a camper and ensures the plumbing is free of moisture.
4. Add Antifreeze to the System
After clearing out any remaining water, it’s time to add antifreeze to your camper’s system. You’ll use your water pump converter kit to pump RV antifreeze through the water system. Begin by connecting the pump converter kit to the antifreeze container and the water pump, then turn on the water pump. Run antifreeze through all faucets, the shower, and toilets. Be sure to open each faucet to ensure the antifreeze reaches every part of your plumbing.
As you pump antifreeze, you should see pink fluid coming out of the faucets. This means that the antifreeze has reached the system and is now protecting the pipes from freezing. Depending on your camper’s size, you may need several gallons of RV antifreeze to fully protect your plumbing.
5. Protect Drains and P-Traps
After winterizing the main water lines, don’t forget to protect the drains and P-traps. These traps hold water to prevent sewer gases from entering the camper, but that water can freeze during cold weather. To avoid this, pour antifreeze into the sinks, showers, and any other drains to protect these crucial components. A small amount (about a cup) should be enough for each drain.
This step is essential to prevent unpleasant odors and potential damage to the plumbing system caused by freezing water in the traps.
6. Winterize Appliances and External Components
Now that your plumbing is winterized, it’s time to move on to the other appliances and external components of your camper. If your camper has an ice maker, washing machine, or outdoor shower, be sure to follow the manufacturer’s instructions to protect them during winter storage.
Additionally, protect your slide-outs and awnings by cleaning and lubricating them before storing them for the winter. This ensures that the components remain in good working condition and won’t become damaged by ice or snow buildup.
Additional Winterization Considerations
Battery Maintenance
Your camper’s battery is an essential component that requires proper care during the winter months. Remove the battery from your camper and store it in a cool, dry place to prevent it from freezing. Clean the battery terminals and check for any corrosion. If necessary, use a battery maintainer to keep it charged throughout the winter months.
Tire and Exterior Care
To protect your camper’s tires during winter storage, consider using tire covers to shield them from UV rays and extreme temperatures. Be sure to inflate your tires to the correct pressure and check for any damage. Additionally, clean and cover the exterior of your camper to prevent the buildup of dirt, ice, and snow.
Pest Prevention
Cold weather often drives pests into RVs in search of warmth and shelter. Seal any entry points to prevent rodents and other pests from making your camper their home during winter. Consider using safe pest deterrents to keep unwanted guests out.
Knowing how to winterize an RV is essential for protecting your camper and ensuring it remains in great condition for future trips. By following this comprehensive guide, you’ll be able to properly winterize your RV and avoid costly damage caused by freezing temperatures. Whether you’re learning how to winterize a travel trailer or simply refreshing your winterization skills, these steps will help you get your camper ready for the cold months ahead, so you can enjoy peace of mind and a hassle-free experience when spring rolls around.
Ready to Fully Winterize Your RV? Protect and Insulate with Custom Skirting!
Ensure your RV is ready for the cold with our Custom Skirting! Enhance your winterization efforts with a flawless fit that keeps your RV insulated, protected, and ready for adventure year-round. Our No-Snap, No-Gap channel system seals out water, snow, and wind better than any other product. After over a decade of perfecting our design through extreme winter testing, our custom skirting is the #1 choice for RV enthusiasts. Don’t wait—protect your RV today and enjoy winter adventures with confidence!