How to Wash an RV: A Comprehensive Guide
Table of contents
Keeping your RV clean is essential for both aesthetic and functional reasons. Proper washing techniques can extend the life of your RV, improve its appearance, and enhance your overall travel experience. This guide will cover all aspects of RV washing, from preparation to finishing touches, ensuring you know the best way to wash your RV.
Preparing for Your RV Wash
Before you start washing your RV, proper preparation is crucial. Here’s how to get ready:
Choose the Right Location
Selecting an appropriate location for washing your RV is vital. Avoid direct sunlight, as it can cause water spots and streaks to form on the surface. Instead, choose a shaded area or wash your RV during the early morning or late evening when the sun isn’t as strong.
Gather Necessary Supplies
To ensure you have everything you need for a thorough RV washing, gather the following supplies:
- Hose: A standard garden hose with a spray nozzle attachment.
- Bucket: One or more buckets for mixing soap and water.
- RV-safe Soap: Use a soap specifically designed for RVs to avoid damaging the finish.
- Soft Brushes and Sponges: Gentle brushes and sponges to clean without scratching.
- Ladder: A stable ladder to reach the roof and high areas.
- Microfiber Towels: Soft towels for drying and detailing.
Inspect the RV
Before you start washing, inspect your RV for any damage, such as cracks, loose seals, or chipped paint. Address these areas before washing to prevent further damage and ensure a smooth cleaning process.
Recommended Cleaning Products and Tools
Here are some recommended products and tools for RV washing:
- RV-safe Soap: Choose a soap that is biodegradable and safe for RV finishes.
- Soft-bristle Brushes: Brushes with soft bristles to avoid scratching the surface.
- Microfiber Towels: Towels that are gentle on the RV’s finish and effective for drying.
- RV Roof Cleaner: A cleaner specifically formulated for the material of your RV roof.
- Window Cleaner: A cleaner that is safe for RV windows and won’t damage seals.
- Wax or Sealant: Products to protect the RV’s exterior after washing.
Step-by-Step RV Washing Process
1. Pre-Rinse
Start with a thorough pre-rinse to remove loose dirt and debris. Use a hose to rinse the RV from top to bottom, including the roof, sides, and undercarriage. This step ensures that you don’t scratch the surface during the scrubbing process.
2. Cleaning the Roof
Cleaning the roof is an essential part of RV washing. Different roof materials require different cleaning techniques:
- Rubber Roofs: Use a rubber roof cleaner and a soft brush. Avoid using harsh chemicals or abrasive tools that can damage the roof.
- Fiberglass Roofs: Use a mild detergent and a soft brush. Rinse thoroughly to remove all soap residue.
- Metal Roofs: Ensure you use a cleaner that is safe for metal surfaces and rinse thoroughly.
3. Washing the Exterior
Washing the exterior involves several steps:
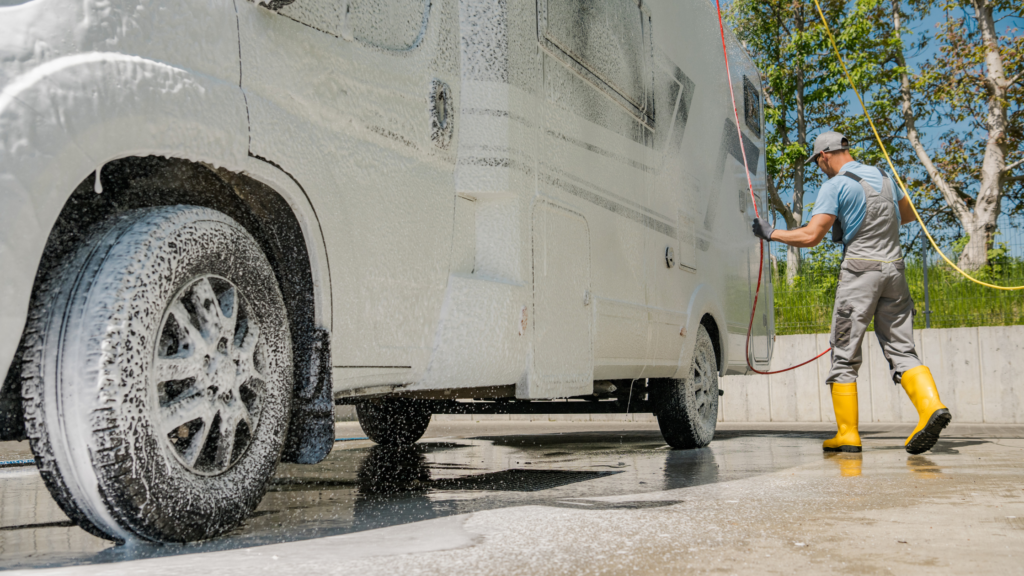
Soap Application
Mix RV-safe soap with water in a bucket. Apply the soapy water using a soft brush or sponge, starting from the top and working your way down. This ensures that dirty water doesn’t drip onto already cleaned areas.
Scrubbing Technique
Gently scrub the RV’s surface to remove dirt and grime. Be sure to clean all sections, including the sides, front, and back. Use long, even strokes to avoid streaking and ensure thorough cleaning.
Slides In or Out
It’s generally easier to wash the RV with the slides in to ensure you clean all areas properly. However, if your slides are particularly dirty, you may need to extend them for a thorough cleaning. Clean around the seals and edges of the slides carefully to prevent water intrusion.
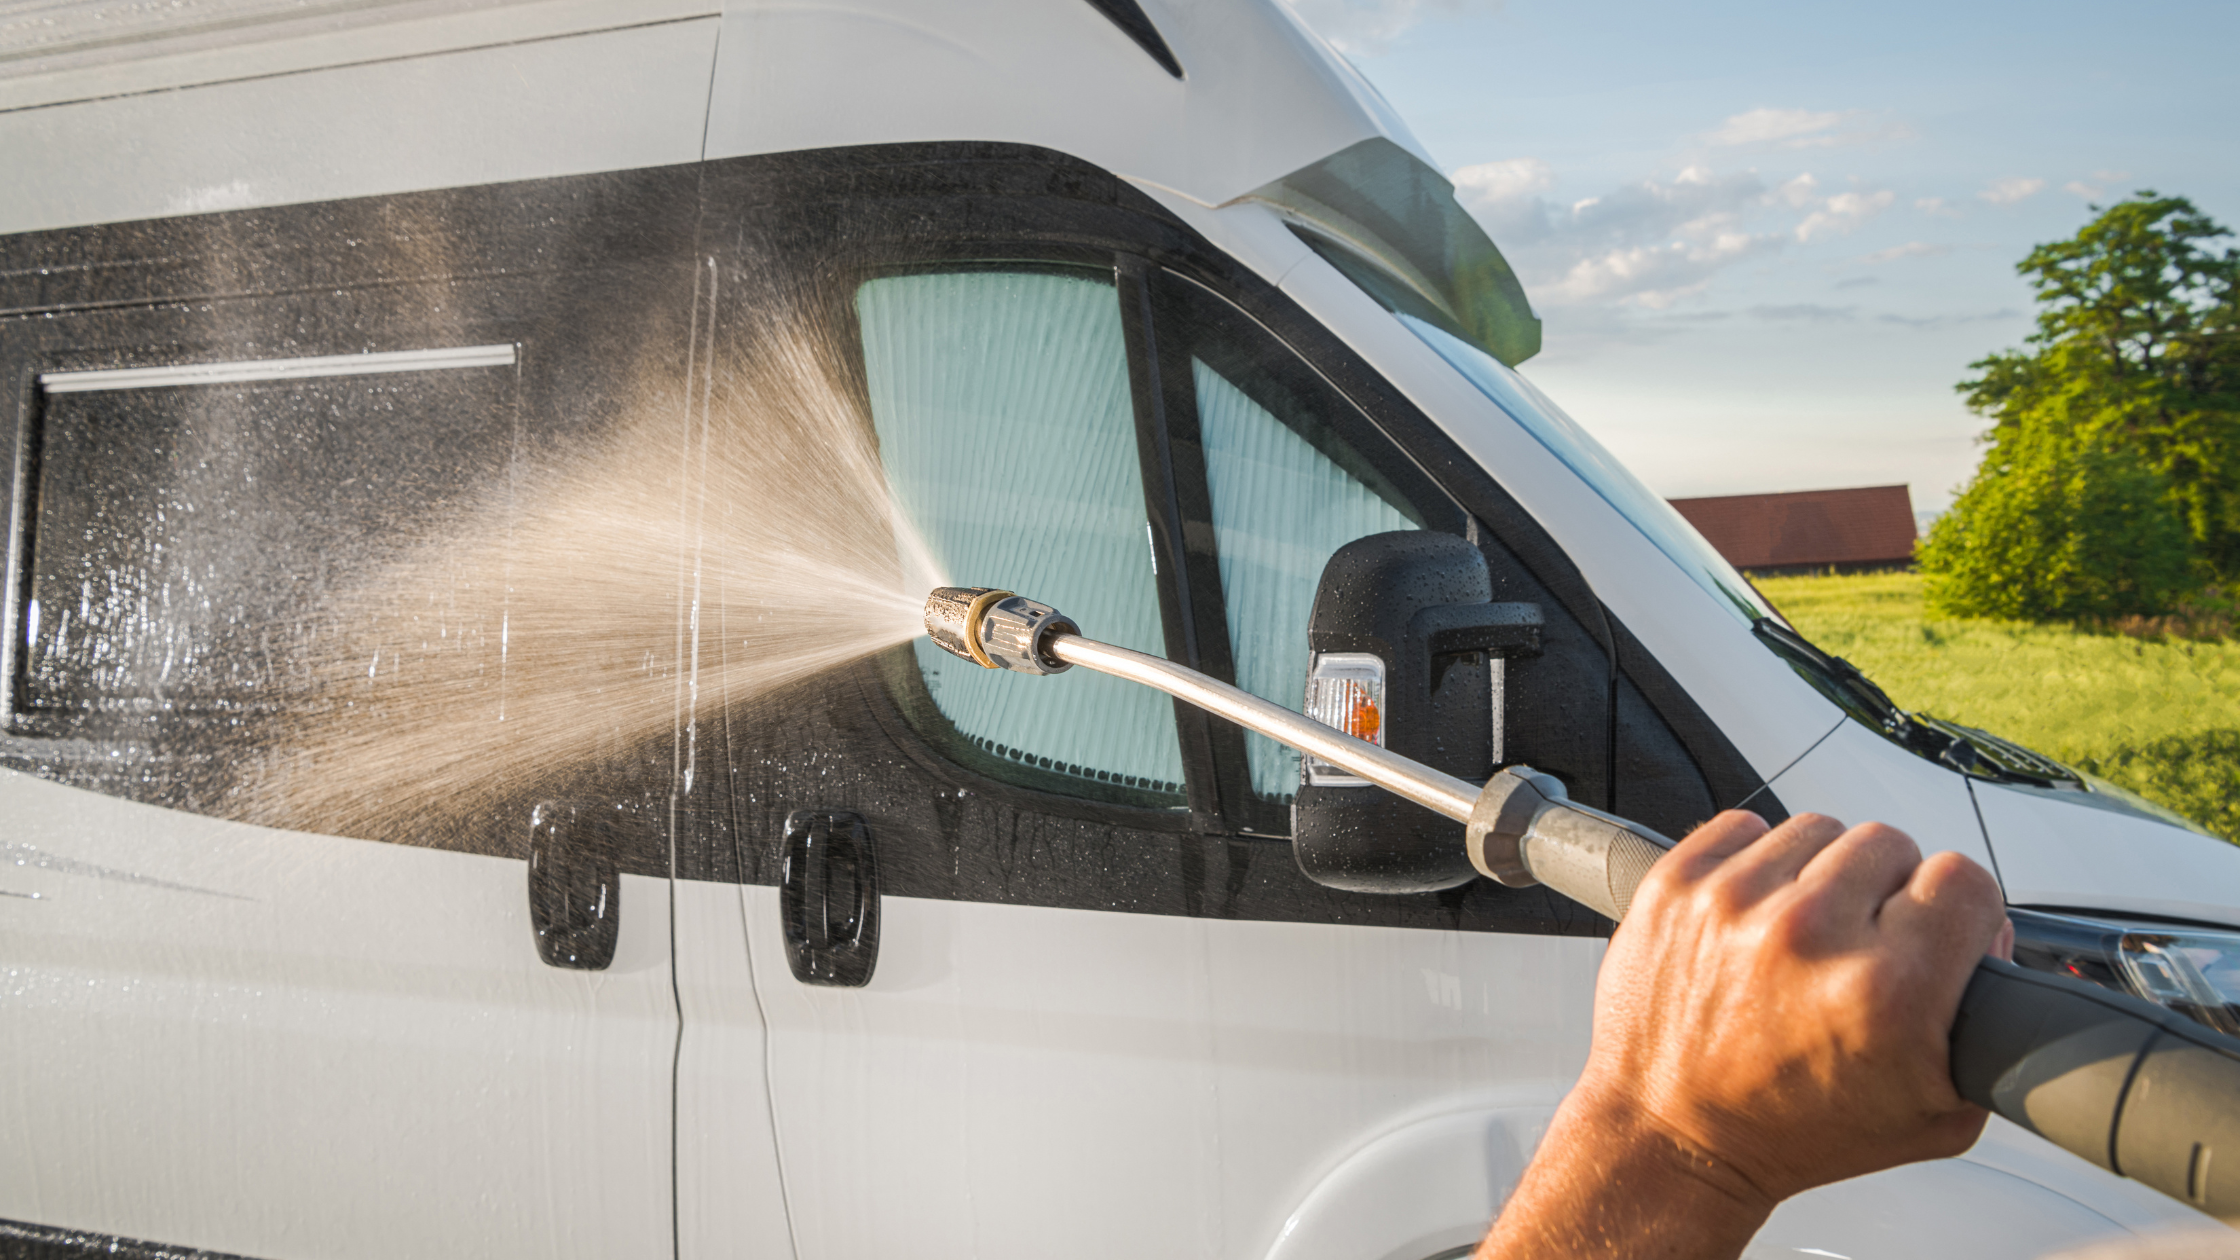
4. Cleaning Windows and Seals
Cleaning the windows and seals is crucial for maintaining visibility and preventing leaks:
- Windows: Use a window cleaner that is safe for RVs. Avoid ammonia-based cleaners, especially on tinted windows. Clean both the inside and outside of the windows for the best results.
- Seals: Clean the seals with a mild detergent and a soft brush. Ensure that you don’t damage the rubber seals, which are vital for preventing leaks. Regular cleaning and conditioning of the seals will help maintain their flexibility and effectiveness.
5. Rinsing and Drying
Proper rinsing ensures that all soap is removed:
- Rinsing: Rinse the RV thoroughly from top to bottom, making sure no soap residue is left behind. Use a gentle spray to avoid damaging the RV’s surface or seals.
- Drying: Use microfiber towels to dry the RV, starting from the top and working your way down. This helps prevent water spots and streaks. Pay special attention to drying around windows, doors, and other openings to prevent water from seeping in.
Special Considerations
Awnings and Slide Toppers
Awnings and slide toppers require regular cleaning to prevent mold and mildew:
- Cleaning Awnings: Extend the awnings and clean them with a mild soap solution. Rinse thoroughly and let them dry completely before retracting. Regular cleaning prevents mold and mildew buildup.
- Slide Toppers: Clean slide toppers similarly, ensuring they are dry before retracting. Check for any signs of wear or damage and address them promptly.
Undercarriage and Towing Components
The undercarriage and towing components often get neglected but are essential for your RV’s overall maintenance:
- Undercarriage: Use a hose to rinse the undercarriage thoroughly, removing dirt and road grime. Inspect for any signs of rust or damage and address them promptly.
- Towing Components: Clean towing components with a mild detergent and a brush. Check for any signs of wear or damage. Regular maintenance of these parts ensures safe towing and prolongs their lifespan.
Finishing Touches and Protection
After washing your RV, take steps to protect its exterior:
Applying Wax or Sealant
Applying a coat of wax or sealant helps protect the RV’s finish and maintain its appearance. Here’s how to do it:
- Choose the Right Product: Select a wax or sealant that is compatible with your RV’s finish.
- Application: Apply the product according to the manufacturer’s instructions. Use a clean, soft cloth to apply the wax or sealant in small sections.
- Buffing: Once the wax or sealant has dried, buff the surface with a clean microfiber towel to achieve a shiny finish.
Final Inspection
After washing and waxing, perform a final inspection to ensure all areas are clean and protected. Look for any missed spots or areas that need additional cleaning. Address any issues promptly to maintain your RV’s appearance and functionality.
Common RV Washing Mistakes to Avoid
Avoid these common mistakes to ensure the best results:
Using Dish Soap
Dish soap can strip the wax and damage the RV’s finish. Always use RV-safe soap to protect your investment.
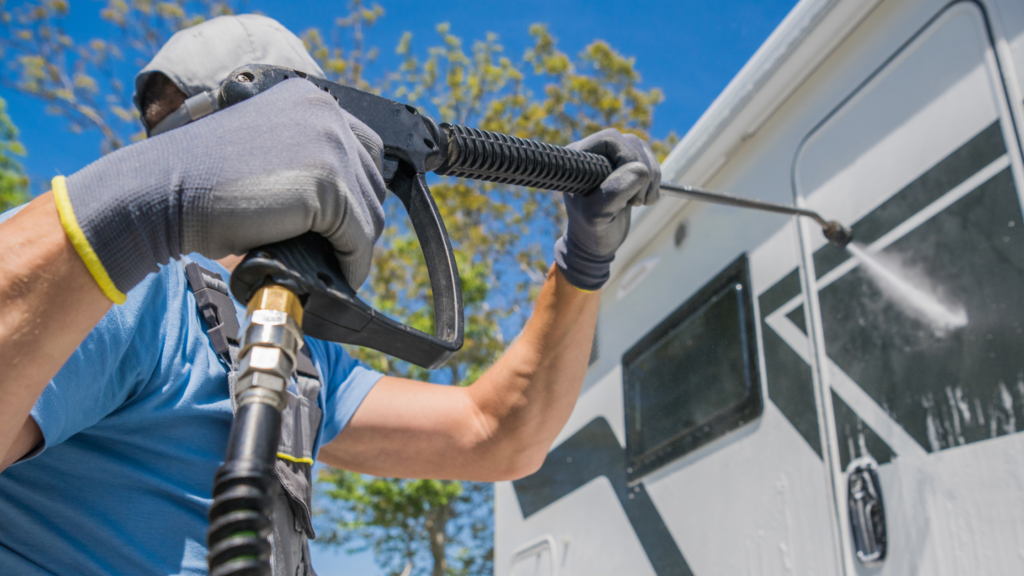
Pressure Washing Concerns
High-pressure washers can damage seals and the RV’s exterior. Use a gentle setting or a regular hose to avoid causing damage. If you do use a pressure washer, keep it on a low setting and maintain a safe distance from the surface.
Neglecting Certain Areas
Don’t forget to clean the roof, undercarriage, and towing components, as these areas are often overlooked. Regular maintenance of these parts is crucial for the overall health and longevity of your RV.
Using Abrasive Tools
Avoid using abrasive brushes or pads that can scratch the RV’s surface. Soft-bristle brushes and sponges are ideal for cleaning without causing damage.
Not Drying Properly
Failing to dry the RV thoroughly can result in water spots and streaks. Use microfiber towels to dry the RV completely, paying special attention to areas around windows and seals.
By following these steps, you can keep your RV looking great and ensure it remains in excellent condition for years to come. Remember, regular RV washing is not just about appearance—it’s about protecting your investment and ensuring a safe and enjoyable travel experience.
Protect Your RV with Custom Skirting
Enhance Your RV’s Longevity with Custom Skirting
After learning how to wash your RV to keep it in top shape, it’s crucial to think about long-term protection. To keep your RV protected for years to come, consider investing in Custom Skirting. Experience the Nation’s #1 RV Skirting Solution!
Don’t compromise on quality or convenience when it comes to your RV skirting. We blueprint and custom-tailor your RV skirting on-site, ensuring a flawless fit that provides unparalleled protection. Our exclusive “No-Snap, No-Gap” channel system seals out water, snow, and wind more effectively than any other product on the market. With over a decade of testing and improvements, our skirting has faced the harshest winters across the northern United States and Canada, emerging as the top choice for RV enthusiasts. Plus, its user-friendly design is ready to move with you whenever adventure calls.
Get Custom Skirting today, and experience the difference for yourself!