How to Replace RV Awning: A Complete DIY Guide
Table of contents
- Tools and Materials Needed
- Assessing Your Current Awning
- Removing the Old Awning
- Selecting the Right Replacement Awning
- Installing the New Awning
- Testing and Adjustments
- Maintenance Tips for Your New Awning
- Troubleshooting Common Issues
- Shield More Than Just Your Awning—Upgrade Your RV Protection with Custom Skirting!
- Related Articles
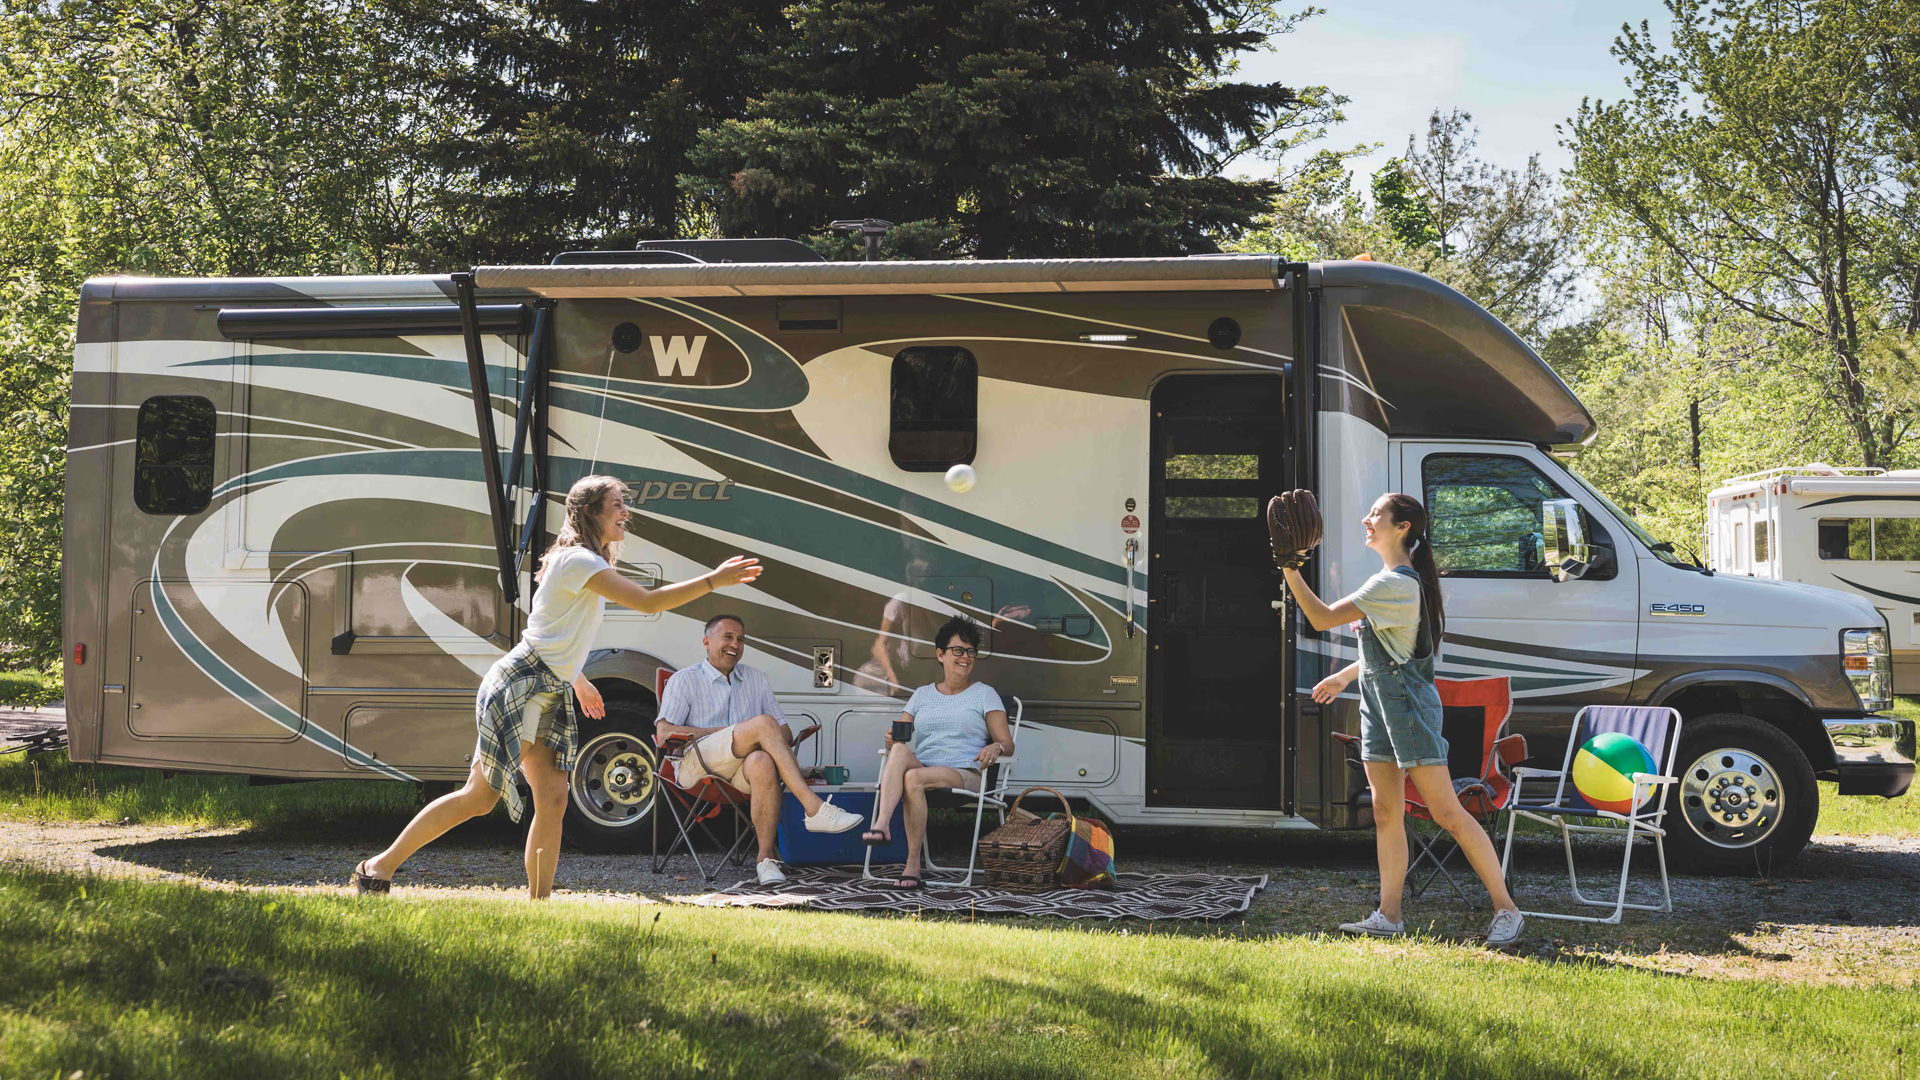
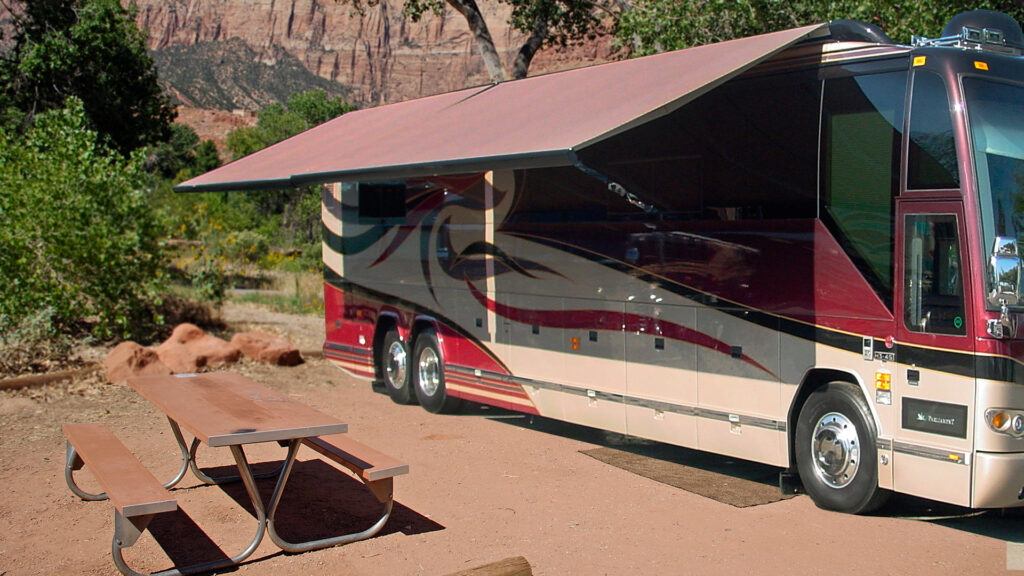
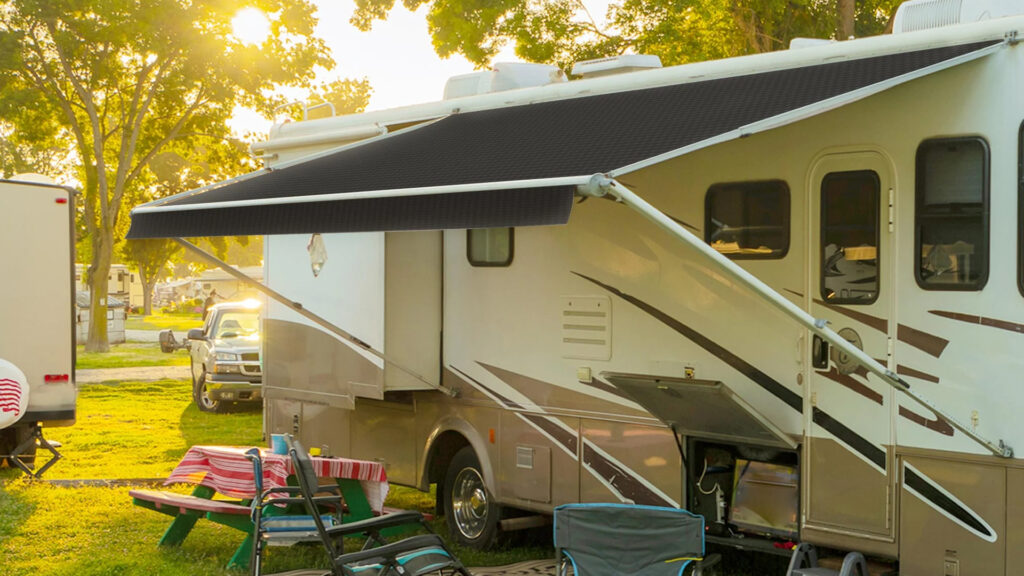
Replacing an RV awning is one of those DIY projects that might seem intimidating at first, but with the right instructions, tools, and preparation, it’s entirely achievable. Whether you’re researching how to replace an RV awning, how to replace a RV awning, or even how to replace RV awning by yourself, this guide covers everything you need to know. Over time, RV awnings can deteriorate due to exposure to sun, wind, rain, or snow. Tears in the fabric, bent arms, or mechanical failures in the roller system are all common reasons for replacing an RV awning. While you could pay a professional to do the job, that often comes with a hefty price tag. By learning how to replace RV awning by yourself, you can save hundreds of dollars and gain valuable knowledge about your RV’s components. This article walks you through every step, from assessing your current awning to the final installation and testing. It’s built from real-world experience and technical know-how, so you can tackle replacing an RV awning with confidence.
Tools and Materials Needed
Before you start replacing an RV awning, gather the necessary tools and materials. Here’s what you’ll need:
Tools:
- Cordless drill and drill bits
- Ratchet set and socket heads
- Phillips and flathead screwdrivers
- Utility knife
- Putty knife
- Measuring tape
- 10-foot step ladder
- Safety gloves
- Eye protection
Materials:
- Replacement awning fabric or complete awning assembly
- Silicone spray (optional, for easier fabric installation)
- Screws and mounting hardware (if not included with your new awning)
Because of the size and weight of awnings, having a second person to help is crucial. Don’t attempt how to replace an RV awning entirely solo—it’s a two-person job for safety and efficiency.
Assessing Your Current Awning
Before diving into replacing an RV awning, determine what exactly needs to be replaced. Is the fabric torn but the hardware intact? Or are the arms, roller, or motor (for electric awnings) damaged?
Check for:
- Bent or cracked awning arms
- Broken or worn-out springs
- Damaged or corroded mounting brackets
- Tears or fading in the awning fabric
- Difficulty in extending or retracting the awning
Steps:
- Extend your awning fully and inspect it from end to end.
- Measure the awning width from the center of one arm to the center of the other—not the length of the fabric.
- Take note of the brand and model number—usually found on the hardware or inside the end caps.
- Take clear photos before disassembly. These will be helpful during reinstallation.
This evaluation will help determine whether you need just new fabric or a full assembly replacement.
Removing the Old Awning
When it comes to how to replace an RV awning, safely removing the old unit is a critical step.
Step-by-step:
- Fully extend the awning.
- Support the awning arms with ladders or sawhorses to prevent sudden drops.
- Remove the set screws and lag bolts from the wall brackets.
- Detach the awning from the RV side with the help of your assistant.
- Lower the awning gently to the ground.
- Unscrew the awning rail (track mounted on the RV wall).
- Remove the awning fabric by sliding it out of the rail.
Safety Tip: Always wear gloves and protective eyewear. Awning components can be under spring tension, and uncontrolled releases can be dangerous.
Removing the Awning Fabric
If you’re only replacing the fabric, here’s how to do it safely:
- Remove the end caps from the roller tube.
- Carefully unwind the spring tension (check manufacturer instructions).
- Slide out the old fabric from the rail and roller tube.
- Clean the roller tube and inspect it for rust or damage.
Different brands may have unique locking mechanisms or tension settings, so refer to your specific model’s manual for guidance.
Selecting the Right Replacement Awning
Understanding your replacement needs is key when learning how to replace RV awning by yourself.
Types of RV Awnings:
- Manual Awnings: Less expensive, more mechanical.
- Electric Awnings: Easy to operate but more complex to install.
Fabric Options:
- Vinyl: Waterproof, good for rainy climates.
- Acrylic: Breathable, ideal for dry and sunny conditions.
Things to Consider:
- Climate conditions
- Frequency of use
- Size compatibility
- Mounting requirements
Price Ranges:
- Fabric-only replacement: $150–$400
- Full awning assembly: $500–$2,000
Make sure the new awning matches the mounting bracket style and size of your old one.
Installing the New Awning
Now we get to the hands-on part of how to replace an RV awning.
Steps:
- If replacing the rail, screw the new one into the RV using a level.
- Slide the new awning fabric into the rail.
- Attach the fabric to the roller tube.
- Mount the awning assembly to the RV side with brackets and lag bolts.
- Secure the awning arms and check alignment.
- Re-tension the spring (for manual awnings) or reconnect wiring (for electric awnings).
Follow all manufacturer instructions and use your reference photos from disassembly to ensure accuracy.
Installing Just the Fabric
For RVers replacing an RV awning fabric only:
- Spray silicone into the track to help the new fabric slide in.
- Insert the beaded edge of the fabric into the rail and roller groove.
- Reassemble the end caps.
- Secure the fabric with retaining screws.
- Test tension and alignment.
Take your time aligning the fabric properly—wrinkles or misalignment can affect how smoothly the awning retracts.
Testing and Adjustments
Once installed, test the awning to ensure it operates correctly.
To Test:
- Extend and retract the awning 2–3 times.
- Listen for grinding or popping noises.
- Make sure the awning opens evenly and the fabric rolls tightly.
- Check for sagging or slack in the fabric.
If something seems off, adjust the arm brackets, re-tension the spring, or re-align the fabric.
Apply lubricant to moving parts and make sure all bolts are tight before hitting the road.
Maintenance Tips for Your New Awning
Once you’ve learned how to replace RV awning, ongoing maintenance will protect your investment:
Tips:
- Clean the fabric with mild soap every season.
- Allow fabric to dry completely before rolling it up.
- Retract the awning during strong winds or storms.
- Inspect bolts and brackets for tightness monthly.
- Use UV-protective sprays for added longevity.
A little maintenance goes a long way in avoiding another replacing an RV awning project soon.
Troubleshooting Common Issues
Even after a successful install, issues may arise. Here’s what to look out for:
Common Problems:
- Uneven Extension: Check arm alignment.
- Difficult Retraction: Lubricate joints or adjust spring tension.
- Fabric Sagging: Re-tension springs or re-align fabric.
- Loose Hardware: Tighten bolts and screws regularly.
If problems persist, especially with electric awnings, it may be time to consult a professional.
Learning how to replace an RV awning, how to replace a RV awning, or how to replace RV awning by yourself may seem daunting, but it’s a manageable DIY task that saves money and gives you more control over your rig. By following this step-by-step guide, gathering the right tools, and taking necessary safety precautions, you’ll be well on your way to successfully replacing an RV awning and enjoying your next camping trip under a sturdy, reliable new shade.
Shield More Than Just Your Awning—Upgrade Your RV Protection with Custom Skirting!
While replacing your RV awning is a great step toward better weather protection, why stop there? Give your entire RV the shield it deserves with Custom Skirting—the Nation’s #1 RV Skirting Solution. Designed and blueprint-tailored right on-site, our skirting fits like a glove and features our exclusive “No-Snap, No-Gap” channel system, sealing out wind, water, and snow better than anything else out there.
Tested in the harshest climates across North America, it’s the ultimate upgrade for full-timers and weekend warriors alike. Durable, easy to install, and always adventure-ready—Custom Skirting protects your undercarriage, boosts insulation, and helps you camp in comfort no matter the season.
Don’t settle for partial protection—complete your DIY upgrade today with Custom Skirting built for the road ahead!