How to Level a Camper: A Guide for RV Enthusiasts
Table of contents
Properly leveling a camper is essential for a comfortable and safe camping experience. Whether you’re new to RVing or a seasoned traveler, mastering the art of leveling is crucial. This guide will walk you through everything you need to know about how to level a camper, how to level a travel trailer, and how to level an RV to ensure optimal functioning and comfort.
Understanding the Importance of Leveling Your Camper
Leveling your RV is not just about comfort—it’s vital for several reasons:
- Improved Comfort: A level camper ensures a more comfortable living space. Sleeping, cooking, and walking around inside the RV become much easier and more enjoyable.
- Proper Functioning of Appliances: Many RV appliances, especially absorption refrigerators, require a level surface to operate correctly. If not level, these appliances can malfunction or get damaged.
- Prevention of Structural Issues: An unlevel camper can cause unnecessary stress on the frame and structure, leading to long-term damage and costly repairs.
Even slight angles can affect your camping experience, making it crucial to understand how to level a camper correctly.
Essential Tools for Leveling Your Camper
To level your camper effectively, you will need the following tools:
- Bubble Levels: These help you check the camper’s level from side to side and front to back.
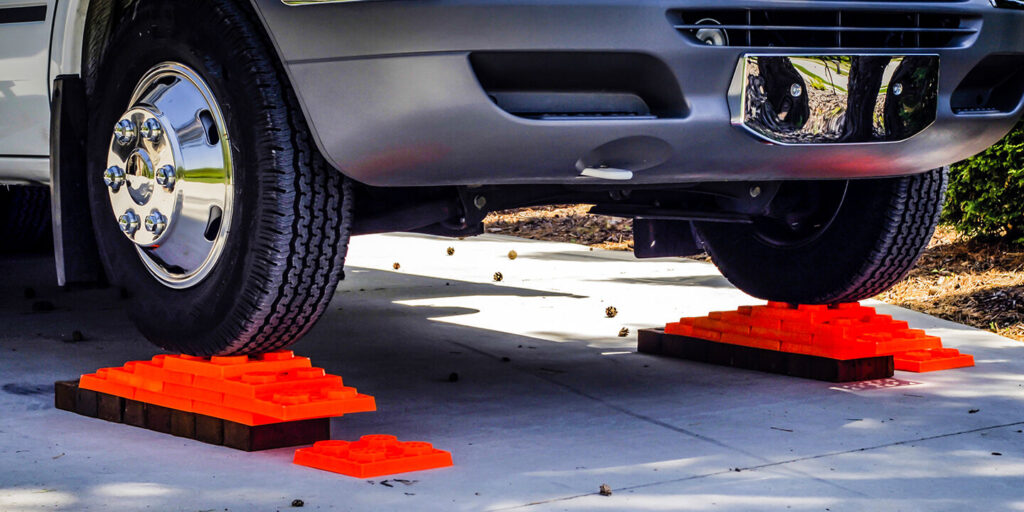
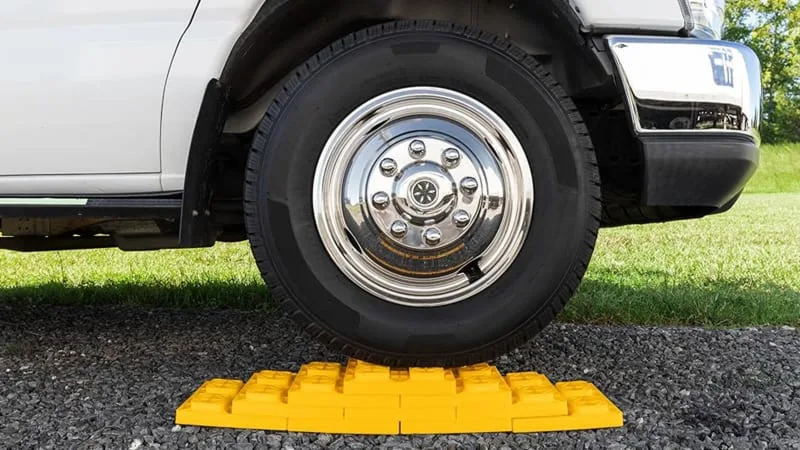
- Leveling Blocks: These are used to elevate one side of the camper to achieve a level position.
- Wheel Chocks: These prevent the camper from rolling once it’s in position.
- Stabilizing Jacks: These keep the camper stable after it has been leveled.
Recommended Tools
- Camco Heavy Duty Leveling Blocks: Durable and easy to use.
- BAL R.V. Leveler: Great for fine-tuning adjustments.
- X-Chock Wheel Stabilizers: Essential for preventing movement.
Step-by-Step Guide to Leveling Your Camper
1. Choosing the Right Spot
Start by selecting an appropriate camping spot. Consider the natural terrain and look for the flattest area within the campsite. Use smartphone apps or bubble levels to assess the initial angle. Avoid spots with significant slopes or uneven surfaces, as they can complicate the leveling process.
2. Side-to-Side Leveling
Side-to-side leveling is the first step:
- Place Bubble Level: Position a bubble level on the camper floor, perpendicular to the camper’s length.
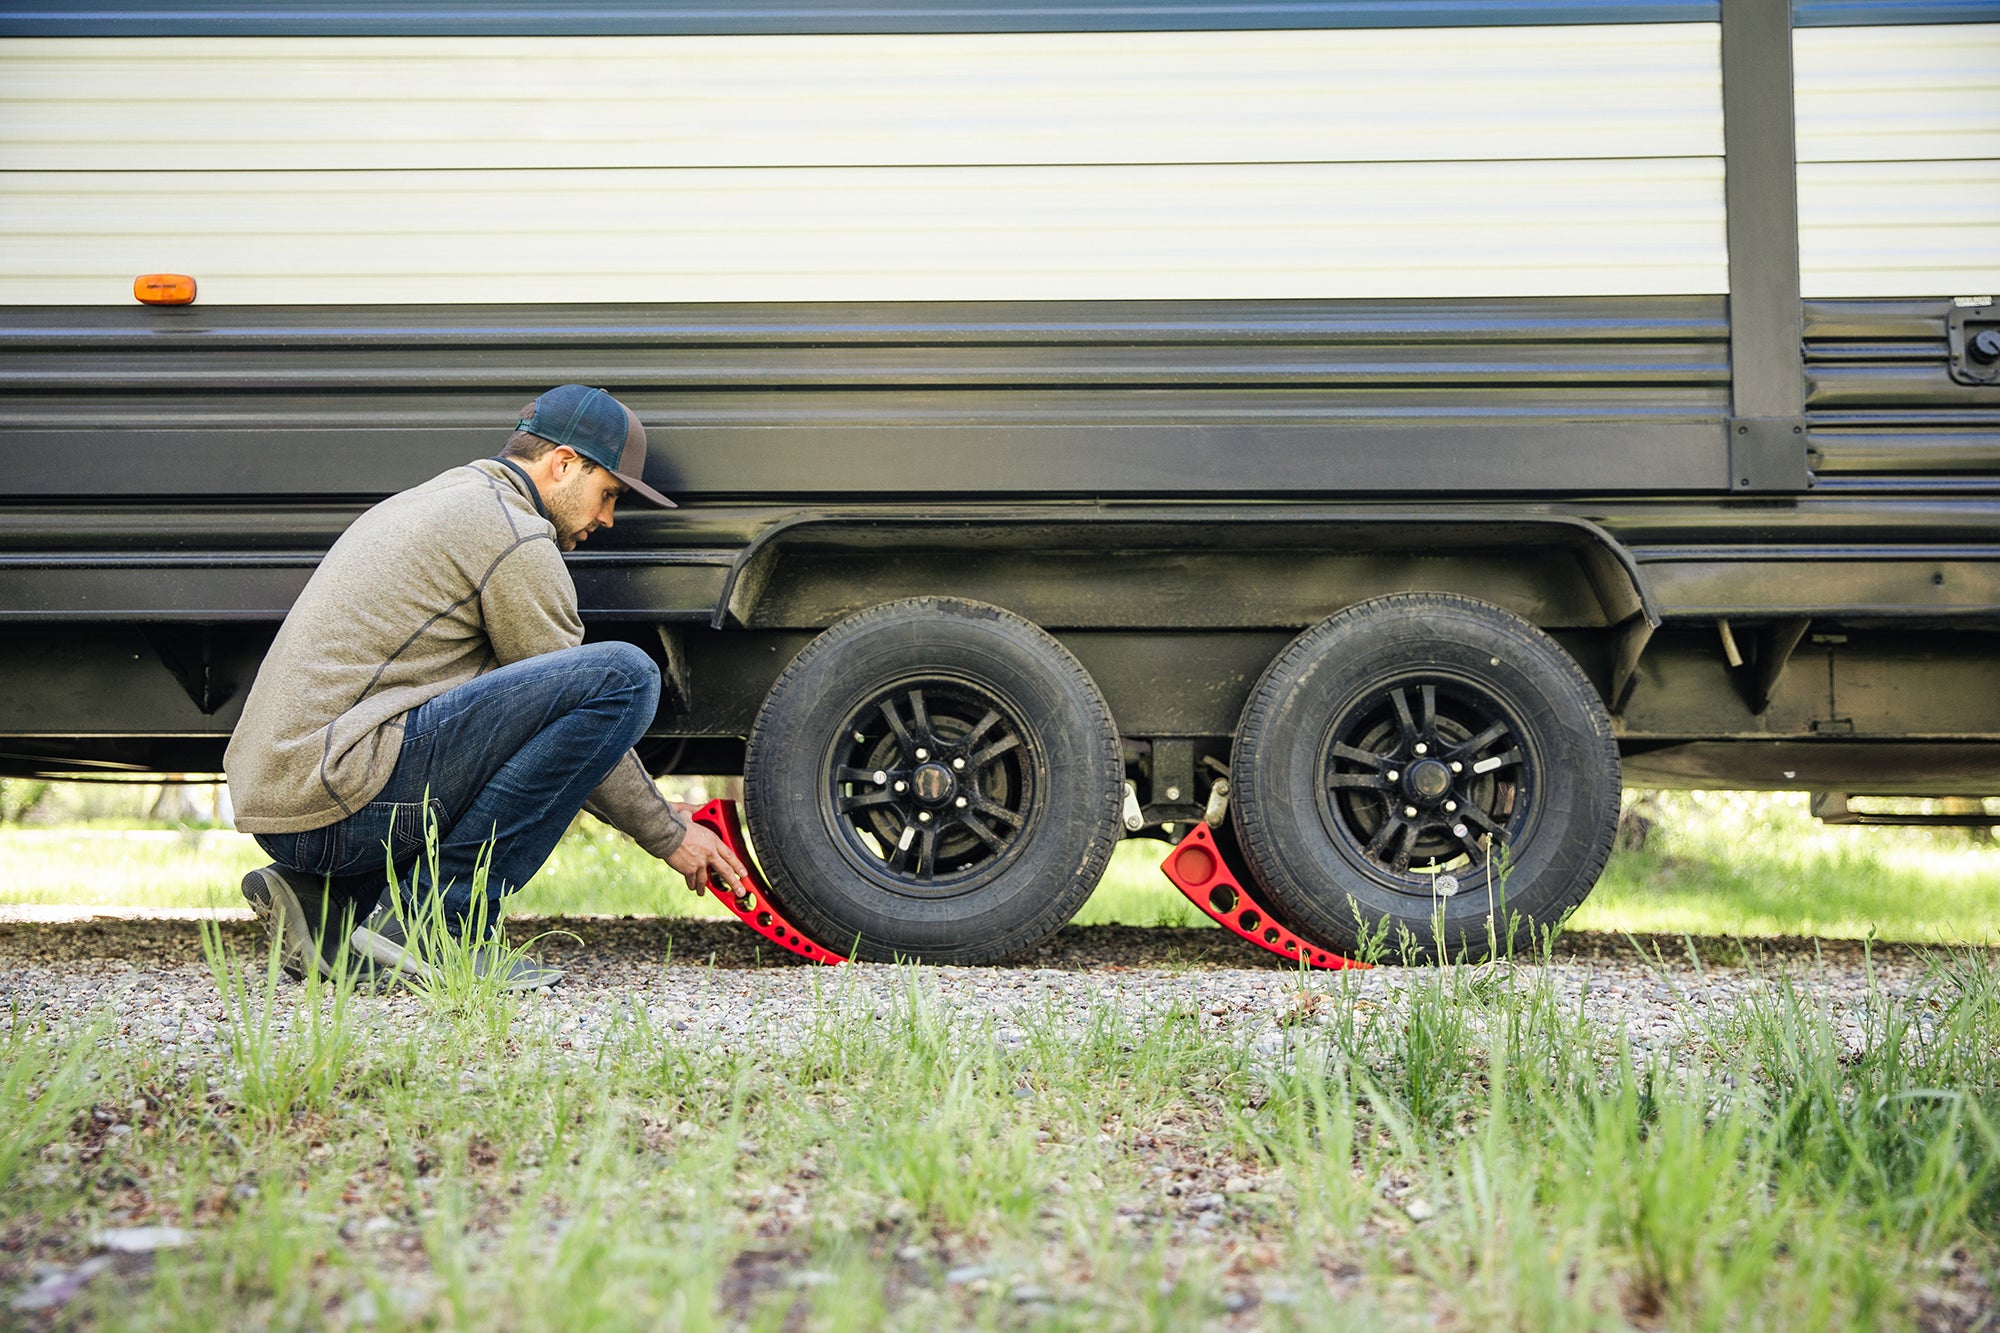
- Place Leveling Blocks: If the camper is tilted, place leveling blocks or wood scraps under the lower side’s wheels.
- Drive onto Blocks: Slowly drive the camper onto the blocks until the bubble level indicates it is level.
- Check Level: Recheck with the bubble level to ensure it’s correct.
3. Front-to-Back Leveling
Once side-to-side leveling is complete, proceed with front-to-back leveling:
- Place Bubble Level: Position the bubble level parallel to the camper’s length.
- Adjust Tongue Jack: Use the tongue jack to raise or lower the front of the camper until it is level.
- Deploy Stabilizing Jacks: Lower the stabilizing jacks to provide additional support and stability.
4. Securing the Camper
After leveling, secure your camper to prevent movement:
- Place Wheel Chocks: Place wheel chocks on both sides of each wheel to prevent rolling.
- Engage Stabilizing Jacks: Ensure all stabilizing jacks are firmly in place, providing stability and safety.
Leveling Techniques for Different Terrains
Different terrains present unique challenges when leveling your camper:
- Sloped Ground: Use additional leveling blocks and consider parking at an angle that minimizes the slope.
- Rocky Surfaces: Clear large rocks from the area and use heavy-duty leveling blocks.
- Soft Soil: Use wide, sturdy blocks to prevent sinking. Check the level frequently as the camper may settle.
Maintaining Level During Your Stay
It’s essential to monitor and maintain the camper’s level throughout your stay:
- Regular Checks: Use a bubble level to check the camper periodically, especially after the first night as the ground may settle.
- Adjust as Needed: Be prepared to make minor adjustments to the leveling blocks and stabilizing jacks.
- Weather Conditions: Changes in weather, such as heavy rain, can affect the ground. Monitor and adjust accordingly.
Leveling Systems and Upgrades
Consider upgrading to automatic leveling systems for an easier and more efficient process:
- Hydraulic Leveling Systems: These systems automatically level the camper at the push of a button.
- Electric Leveling Jacks: Easier to use than manual jacks, providing quick adjustments.
Pros and Cons of Leveling Systems
- Pros: Saves time, reduces manual labor, and ensures precise leveling.
- Cons: Can be expensive and require professional installation.
Troubleshooting Common Leveling Issues
Here are solutions to common problems encountered while leveling a camper:
- Uneven Settling: If the camper settles unevenly, add more leveling blocks and recheck the level.
- Stuck Jacks: Lubricate the jacks regularly and ensure they are not overloaded.
- Difficulty Achieving Level: Double-check the initial site selection and ensure you’re using the right tools and techniques.
Protect Your RV with Custom Skirting: The Ultimate Solution
When it comes to ensuring your RV is protected year-round, don’t settle for anything less than the best. Our Custom Skirting offers the perfect solution to keep your camper safe from the elements, no matter where your adventures take you.
Experience the Nation’s #1 RV Skirting Solution!
Don’t compromise on quality or convenience when it comes to your RV skirting. We blueprint and custom-tailor your RV skirting on-site, ensuring a flawless fit that provides unparalleled protection. Our exclusive “No-Snap, No-Gap” channel system seals out water, snow, and wind more effectively than any other product on the market.
With over a decade of testing and improvements, our skirting has faced the harshest winters across the northern United States and Canada, emerging as the top choice for RV enthusiasts. Plus, its user-friendly design is ready to move with you whenever adventure calls.
Get Custom Skirting today, and experience the difference for yourself! Protect your investment, enjoy peace of mind, and make the most out of your RV lifestyle.