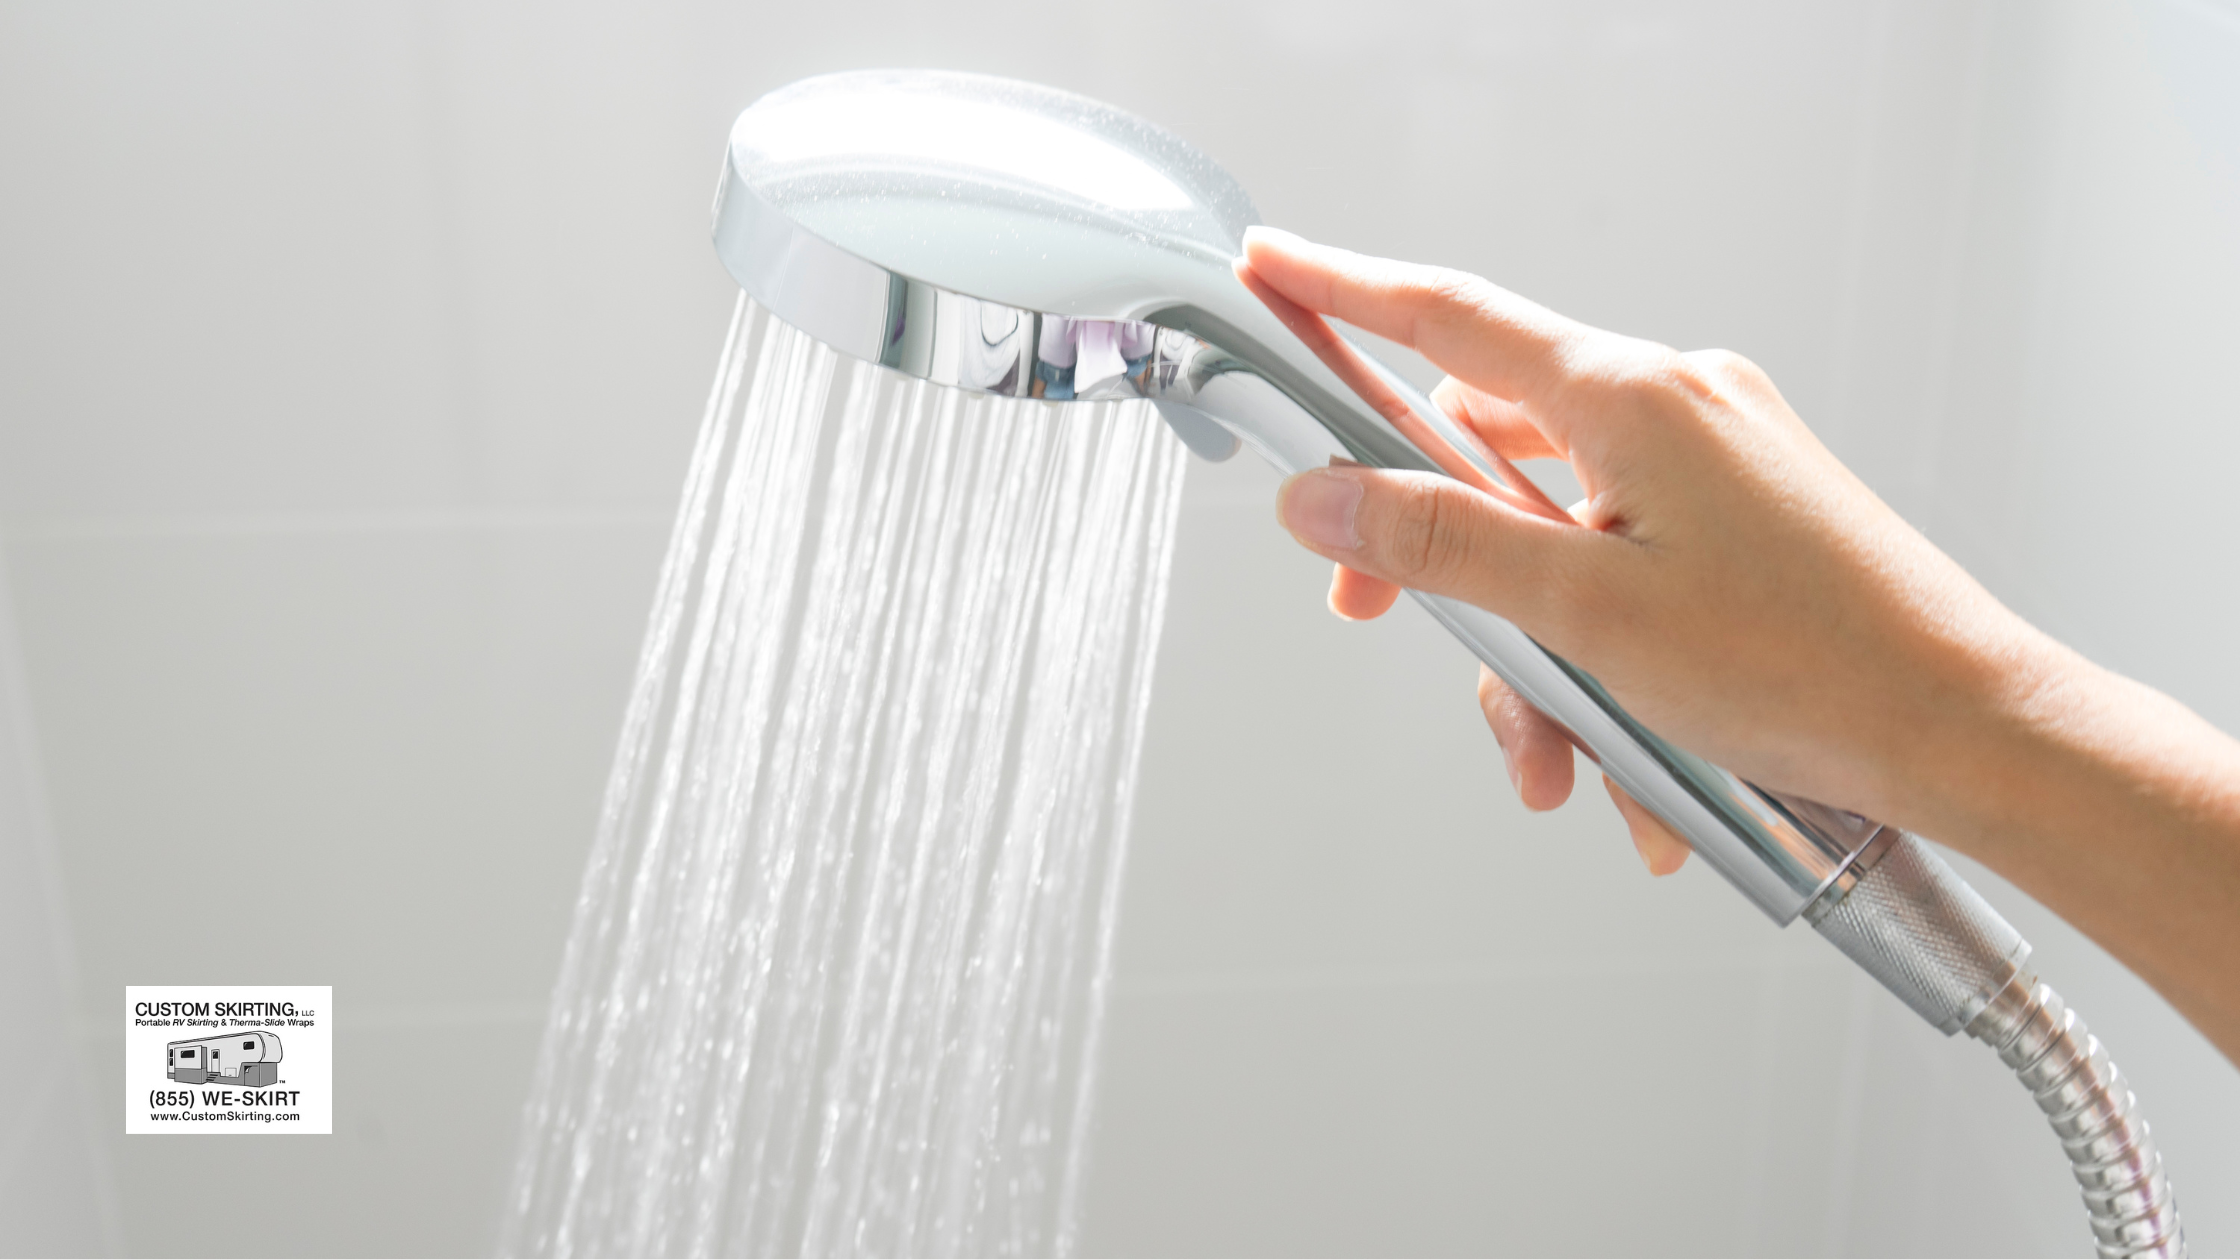
How to Increase Water Pressure in RV Shower: Complete Guide
Table of contents
- Understanding RV Water Pressure Basics
- Diagnosing the Cause of Low Water Pressure
- Quick and Simple Solutions
- Upgrading Your RV Shower System
- Advanced Solutions for Persistent Pressure Problems
- Maintenance Tips to Maintain Optimal Water Pressure
- Upgrade Your Comfort: Combine Better Shower Pressure with Superior RV Protection
- Related Articles
If you’re dealing with weak water flow during your RV travels, you’re not alone. About 68% of RV owners report frustration with low shower pressure at some point during their trips. Learning how to increase water pressure in RV shower systems is essential for maintaining comfort and hygiene while on the road. Whether you’re camping off-grid or hooked up at a resort, understanding how to increase water pressure in an RV can make every shower a refreshing experience. In this guide, we’ll walk you through everything from the basics of RV water systems to diagnosing problems and performing upgrades. You’ll learn how to increase RV water pressure through simple fixes and advanced solutions. We’ll also explore seasonal considerations, discuss differences based on RV size, and compare costs for various upgrades. Best of all, most of these solutions can be done without a professional, making this your go-to DIY guide for tackling RV low water pressure.
Understanding RV Water Pressure Basics
The ideal water pressure for an RV is typically between 40 and 50 PSI (pounds per square inch). Anything above 60 PSI can risk damaging your plumbing system. Unlike residential systems, RV water setups can draw from onboard freshwater tanks or external city water hookups.
When using your RV’s internal water pump, the pressure depends on the pump’s power and the cleanliness of your system. With city water, pressure relies on the campground’s water source and the use of a pressure regulator. These variables mean that pressure can vary significantly day-to-day and location-to-location. This is why knowing how to increase water pressure in RV shower setups requires a good understanding of these sources.
Diagnosing the Cause of Low Water Pressure

Before you make any changes, it’s critical to determine the root cause of your RV low water pressure. Here’s a step-by-step diagnostic process:
- Check Baseline Pressure: Use a water pressure gauge at the spigot or near your water pump to get an accurate reading.
- Inspect the Shower Head: Remove it and run water directly from the hose. If pressure improves, the issue may be the shower head.
- Check Water Filters: Look for inline water filters and inspect for clogs or mineral buildup.
- Examine the Water Pump: Turn on the pump using the onboard tank. Listen for irregular sounds and observe flow consistency.
- Look for Leaks: Check under sinks, around the toilet, and along visible piping for signs of moisture or dripping.
- Test Campground Water: Connect to another spigot or ask neighbors if they’re experiencing similar issues.
This approach helps you target the problem and learn how to increase water pressure in an RV without unnecessary replacements.
Quick and Simple Solutions
Clean or Replace Your Shower Head
Over time, mineral deposits and sediment can clog RV shower heads. To clean it:
- Remove the shower head.
- Soak it in a solution of vinegar and warm water for several hours.
- Scrub with a soft brush.
- Remove and clean any built-in flow restrictors.
Do this every few months to maintain strong flow. In some cases, replacing the head may be easier and more effective.
Check and Clean Water Filters
Water filters—especially inline filters like the Neo-Pure KW1—can drastically reduce pressure when clogged. These filters are typically located near the water inlet or under the sink. To fix:
- Remove and inspect the filter for discoloration or debris.
- Rinse or replace as necessary.
- Replace filters every 3–6 months depending on water quality.
Inspect and Fix Leaks
Even small leaks can cause major pressure drops. Look for:
- Damp spots under sinks
- Water stains near pump fittings
- Hissing or dripping at pipe joints
To fix a leak:
- Tighten loose fittings.
- Use plumber’s tape or sealant where needed.
- Replace worn washers or cracked fittings.
Knowing how to increase water pressure in RV shower systems sometimes starts with simply plugging a hidden leak.
Upgrading Your RV Shower System
Install a High-Pressure Shower Head
High-efficiency shower heads like the Oxygenics BodySpa are designed to maximize flow with limited water. These heads infuse air to increase velocity, which feels like higher pressure.
- Uses less water while boosting performance
- Easy DIY installation
- Compatible with standard RV shower arms
Water conservation is a bonus—ideal for boondocking or campgrounds with limited hookups.
Replace Your Shower Diverter Valve
A faulty diverter valve can reduce pressure dramatically. This valve controls the direction of water to the shower head.
To replace:
- Turn off the water supply.
- Remove the old diverter valve.
- Install a new unit like the Dura Faucet RV Shower Diverter.
- Check for leaks and proper alignment.
This upgrade takes about 30–60 minutes and improves flow control.
Upgrade Your RV Water Pump
Older or undersized water pumps may not provide adequate pressure. Look for models with 3.5 to 5.0 GPM (gallons per minute).
Top recommendations:
- Shurflo 4008-101-E65: Great for small to mid-size RVs.
- Shurflo 4048-153-E75: Ideal for larger rigs or multiple fixtures.
Installation Tips:
- Disconnect battery power first.
- Mount the new pump securely.
- Connect inlet/outlet hoses and wiring.
An upgraded pump is often the most effective way to increase RV water pressure.
Advanced Solutions for Persistent Pressure Problems

Install a Water Pressure Booster
Water pressure boosters like the Flojet 03526-144A add power to city water hookups.
- Installs inline between the spigot and RV inlet
- Includes built-in sensor to regulate output
- Ideal for full-timers or long-term campgrounds
Expect pressure increases of 10–20 PSI.
Add a Water Accumulator Tank
An accumulator tank reduces pressure fluctuations by storing pressurized water.
Benefits:
- Smoother flow
- Less cycling of the water pump
- Prolonged pump lifespan
Installation:
- Mount close to the pump
- Use appropriate fittings to tee into the cold water line
Maintenance includes occasional draining and checking the air pressure inside the tank.
Upgrade Your RV Plumbing
Narrow or old plumbing can restrict flow. Upgrading involves:
- Identifying choke points (especially near the pump or fixtures)
- Replacing half-inch lines with 5/8-inch or PEX tubing
- Using high-quality connectors and clamps
This is more labor-intensive and best for major renovations, but it can make a noticeable difference.
Maintenance Tips to Maintain Optimal Water Pressure
Preventing RV low water pressure requires ongoing care. Follow this maintenance schedule:
Monthly:
- Check water filters
- Inspect fittings and connections for leaks
Seasonally:
- Winterize properly to prevent burst pipes
- De-winterize carefully, flushing the system to remove antifreeze and debris
Annually:
- Descale the shower head
- Sanitize the water tank
- Test water pump performance
Store your RV with drained water lines and open faucets to avoid pressure buildup and pipe damage.
Understanding how to increase water pressure in RV shower systems is a game-changer for comfort and usability. Whether you’re dealing with rv low water pressure from a clogged filter, aging pump, or weak campground supply, this guide equips you with multiple solutions. From cleaning a shower head to installing a booster pump, each fix contributes to a stronger, more enjoyable shower experience.
So next time you’re wondering how to increase water pressure in an RV or how to increase RV water pressure on your next trip, refer back to this guide. With the right tools and a bit of DIY spirit, you can reclaim your RV shower’s power—no plumber required.
Upgrade Your Comfort: Combine Better Shower Pressure with Superior RV Protection
Looking to solve how to increase water pressure in RV shower for good? While optimizing your water system makes showers more enjoyable, don’t overlook another key factor: protecting your RV’s plumbing from the elements. Custom RV Skirting not only prevents freezing pipes and heat loss during cold-weather adventures—it also helps maintain consistent water pressure by insulating your system.
Get the Nation’s #1 RV Skirting Solution—custom-measured and blueprint-tailored right on-site. With our exclusive “No-Snap, No-Gap” channel system, you’ll seal out water, snow, and wind more effectively than ever before. Durable, tested, and travel-ready, our skirting has proven itself through the harshest winters in North America.
Enhance your RV life—optimize your shower experience and protect your plumbing with Custom Skirting today!
