How to Fix a Leaking Camper Roof: A Comprehensive DIY Guide
Table of contents
RV roof leaks can cause serious damage if left unchecked, leading to mold, rot, structural deterioration, and expensive repairs. Water intrusion doesn’t just compromise your camper’s insulation and interior—it can weaken the entire frame, damage electrical components, and create an unhealthy environment due to mold and mildew growth. Knowing how to fix a leaking camper roof is essential for maintaining your RV’s integrity, preventing costly repairs, and ensuring a safe, dry living space. Whether you’re dealing with a small drip, a cracked seal, or a major water infiltration issue, taking quick action can save you thousands of dollars in long-term damage.
This step-by-step guide will teach you how to identify common leak sources, choose the right repair materials for your RV’s specific roof type, and apply effective sealing techniques. With proper maintenance and timely repairs, you can extend the life of your camper, improve its resale value, and keep your adventures on track—rain or shine!
Understanding Your Camper Roof
Before you begin camper leak repair, it’s crucial to understand the type of roof your camper has. Different materials require different repair techniques. The most common camper roof materials include:
- EPDM (Rubber Roofs): Durable and lightweight but prone to punctures.
- TPO (Thermoplastic Polyolefin): Similar to EPDM but with better UV resistance.
- Fiberglass: More rigid and durable but heavier than rubber.
- Aluminum: Resistant to damage but susceptible to corrosion.
- PVC (Polyvinyl Chloride): Offers high durability and insulation but is less common.
Identifying your camper’s roof type is crucial for selecting the correct how to repair RV roof leak method.
Identifying the Source of the Leak
Locating the exact source of the leak is often the trickiest part of how to fix a leaking camper roof. Follow these steps:
- Visual Inspection: Look for cracks, peeling, or discoloration on the roof.
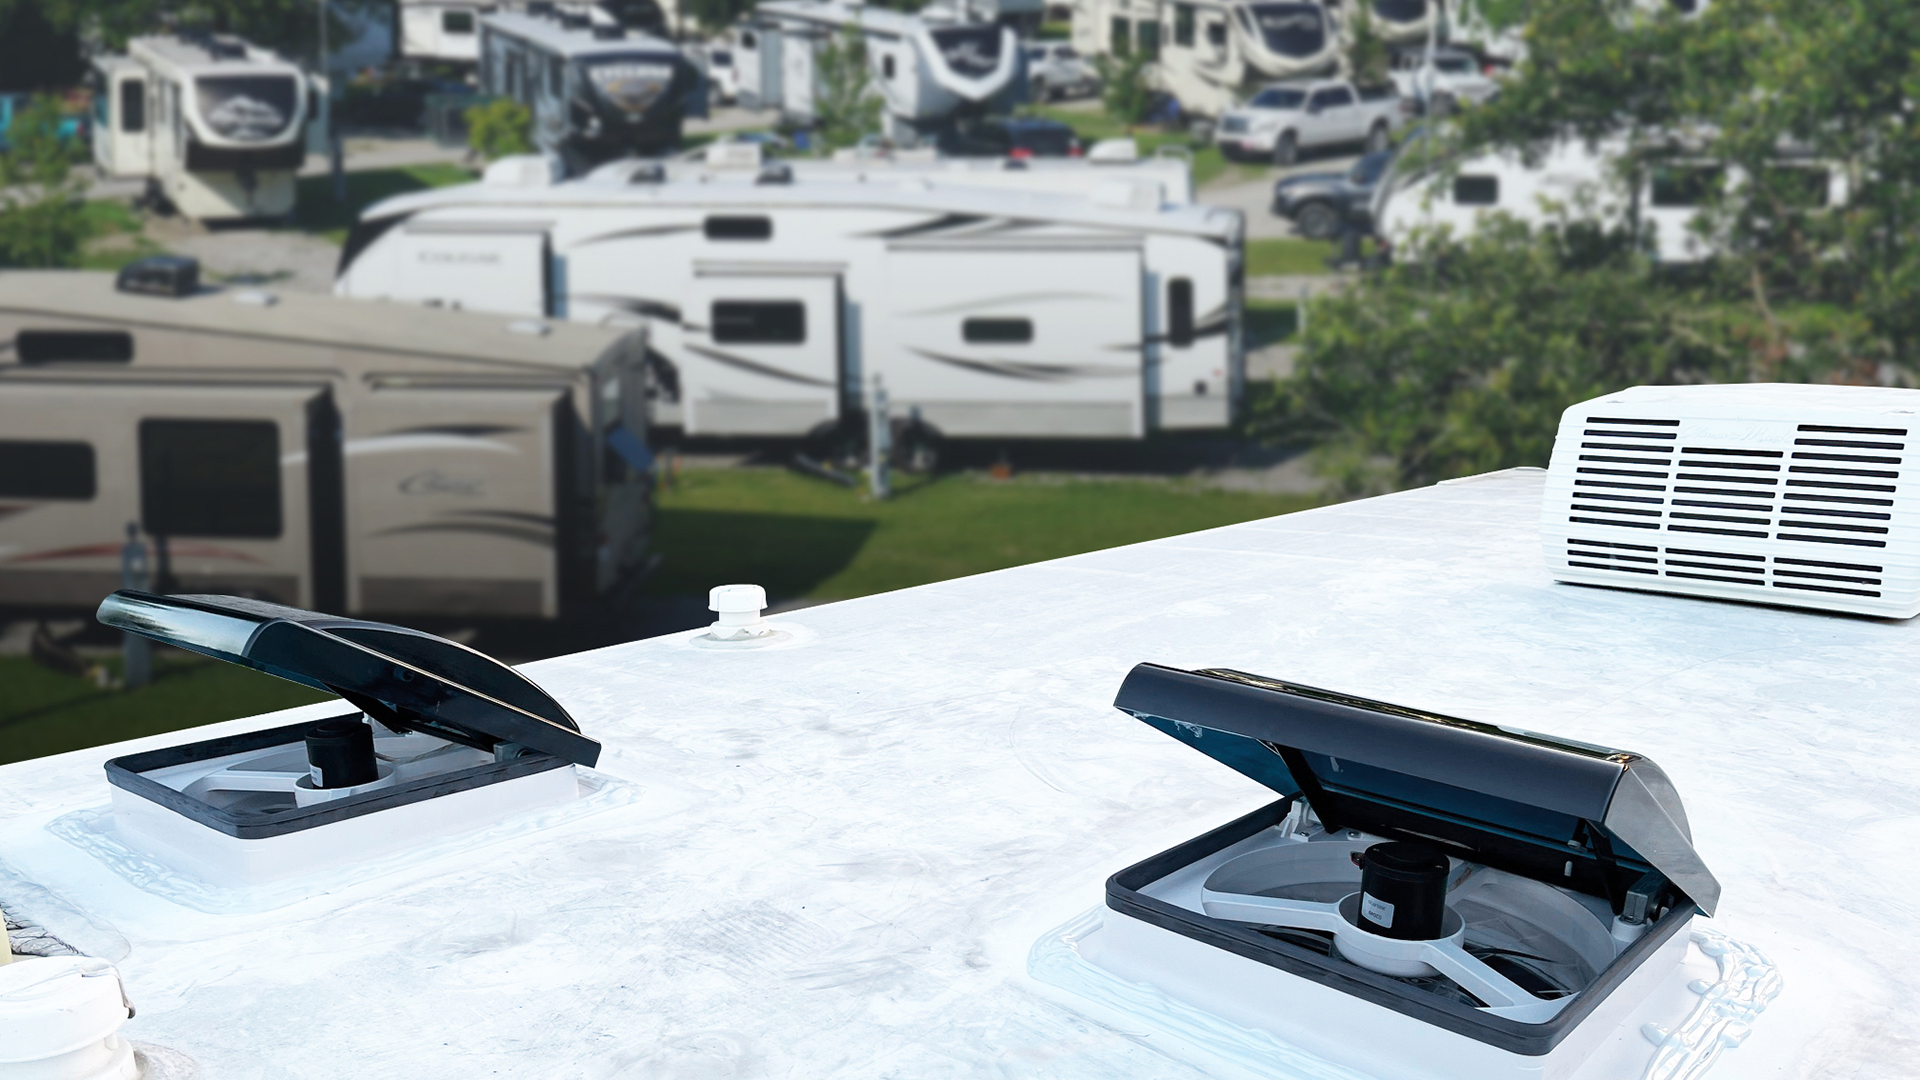
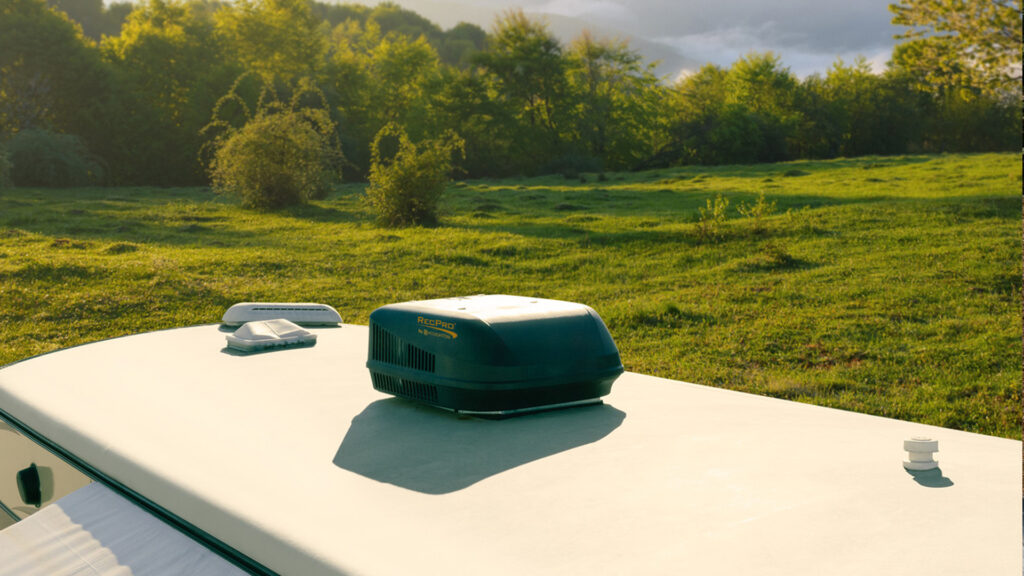
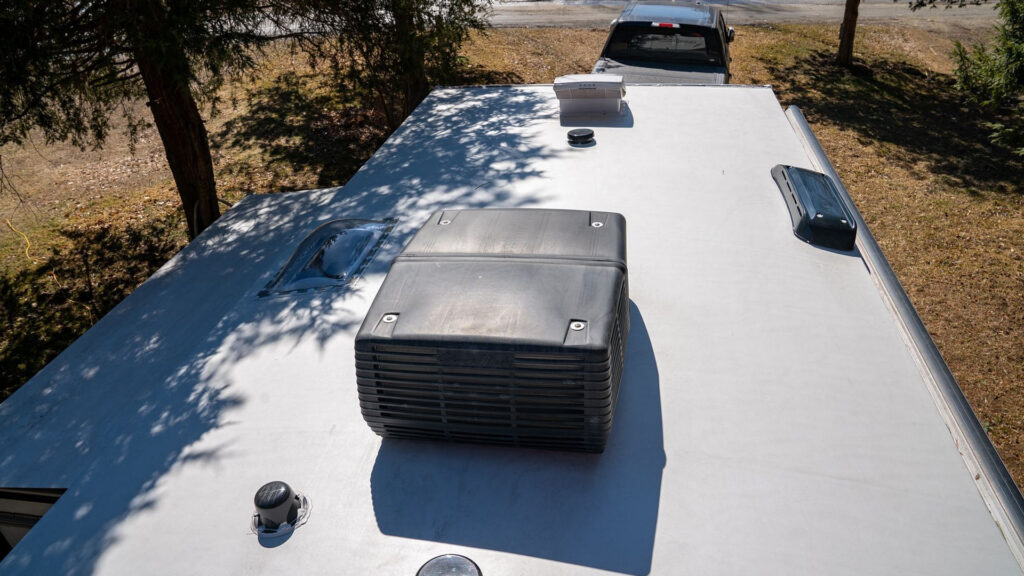
- Check Seams & Fixtures: Inspect seams, vents, antennas, AC units, and skylights for damaged seals.
- Water Test: Have a helper spray water on the roof while you check inside for leaks.
- Inspect Interior Signs: Stains, mold, or soft spots inside indicate where water is entering.
Once you’ve identified the problem area, you’re ready to gather your repair tools.
Gathering Necessary Tools and Materials
To effectively fix RV roof leaks, you’ll need the following:
- Cleaning supplies: Denatured alcohol or mineral spirits
- Sealants: Self-leveling RV roof sealant, liquid rubber
- Repair tapes: Eternabond tape, butyl tape
- Application tools: Caulking gun, brushes, rollers
- Safety equipment: Gloves, goggles, non-slip shoes
Each of these materials plays a crucial role in camper leak repair by ensuring a watertight, durable fix.
Preparing the Roof Surface
Proper preparation is key to a long-lasting how to repair RV roof leak solution:
- Clean the area around the leak with a mild cleaner.
- Remove old sealant using a scraper or solvent.
- Dry the surface completely to ensure proper adhesion.
Skipping this step can lead to failed repairs, so take your time to prep thoroughly.
Applying Sealant or Repair Tape
Once the surface is prepared, apply the appropriate repair method:
Sealant Application
- Choose a sealant compatible with your roof type.
- Apply in a smooth, even layer over cracks or leaks.
- Allow proper curing time based on manufacturer instructions.
Repair Tape Application
- Cut a section of Eternabond tape larger than the damaged area.
- Firmly press it down to eliminate air bubbles.
- Use a roller to ensure maximum adhesion.
Both methods provide a durable, waterproof barrier for how to fix RV roof leaks effectively.
Addressing Specific Types of Leaks
Different leaks require different repair approaches:
Seam Leaks
- Apply a fresh bead of self-leveling sealant along the seam.
- Smooth it out for full coverage.
Punctures or Tears
- Use patch material or repair tape to cover the hole.
- Seal the edges with additional sealant.
Leaks Around Roof Fixtures
- Remove old sealant from vents, skylights, or AC units.
- Reapply fresh sealant and ensure a proper seal.
Large Damaged Areas
- Consider applying a full liquid rubber roof coating for comprehensive protection.
Testing the Repair
To ensure your how to fix a leaking camper roof repair was successful:
- Allow proper curing time for sealants or coatings.
- Conduct a water test by spraying the roof and checking for leaks.
- Inspect the interior for any new water stains.
If the leak persists, reapply sealant or consider professional assistance.
Preventative Maintenance
Preventative care is the best way to protect your RV from costly water damage. Regular maintenance not only extends the lifespan of your roof but also minimizes the need for frequent camper leak repairs. Follow these essential steps to keep your RV roof in top condition:
- Inspect the Roof Every 3-6 Months: Check for cracks, punctures, loose seams, or deteriorating sealant. Pay special attention to vents, skylights, air conditioners, and any other roof attachments where leaks are most likely to develop.
- Keep the Roof Clean to Prevent Buildup and Damage: Dirt, debris, and algae can degrade roofing materials over time. Use a manufacturer-approved cleaner and a soft brush to remove buildup and prevent premature wear. Cleaning also allows you to spot potential issues early.
- Reapply Sealant Annually to High-Risk Areas: Over time, sealants can dry out, crack, or lose adhesion. Inspect and reapply a compatible RV roof sealant around seams, vents, antennas, and other vulnerable areas to maintain a watertight barrier.
- Use a Protective RV Cover When in Storage: UV rays, heavy rain, and snow can accelerate roof deterioration. A breathable, high-quality RV cover shields your roof from the elements, preventing cracks and leaks while reducing exposure to extreme temperatures.
By following these maintenance steps, you can extend the life of your RV roof, reduce repair costs, and enjoy worry-free adventures.
When to Seek Professional Help
If the damage is severe or widespread, professional repair may be necessary. Seek expert help if:
- The structure is compromised.
- The leak persists after multiple repairs.
- You’re unsure of the best repair method.
Professional RV service centers can perform specialized how to repair RV roof leak techniques beyond DIY fixes.
Learning how to fix a leaking camper roof can save you time and money while keeping your RV in top shape. By following this guide, you can confidently perform camper leak repair and extend the life of your camper.
Protect Your Camper Beyond the Roof—Upgrade to Custom RV Skirting!
Secure Your RV for Every Season with Custom Skirting
Fixing a leaking roof is just the first step in safeguarding your camper. To truly protect your RV from harsh weather conditions, Custom RV Skirting is a game-changer. By insulating your RV and shielding it from wind, snow, and extreme temperatures, skirting reduces strain on your roof and seals, preventing future leaks and costly damage.
Experience the Nation’s #1 RV Skirting Solution, designed with our exclusive “No-Snap, No-Gap” channel system—proven to seal out moisture and drafts better than any other product on the market. Crafted on-site for a perfect fit, our skirting is battle-tested against the toughest winters in the U.S. and Canada. Plus, its easy-to-use, travel-ready design means you can take protection wherever adventure leads you.
Get Custom Skirting Today! Don’t wait until the next storm—invest in lasting protection and enjoy peace of mind on the road.