How RV Water Systems Work
Table of contents
In the world of recreational vehicles (RVs), understanding the intricacies of the water system is essential whether you’re a seasoned RV owner or considering purchasing your first RV. The RV water filter system is a vital component that provides essential amenities like clean drinking water, shower facilities, and sanitation on the go. Knowing how RV water systems work empowers owners to maintain and troubleshoot these systems effectively. This guide will delve into the details of RV water systems, covering topics such as water filtration, plumbing diagrams, water hookups, and the function of the camper water pump. Whether you’re looking to enhance your RV knowledge or ensure a smooth RV experience, understanding RV water systems is key to enjoying your travels with confidence.
RV Water System Components
Pressure Regulator
The pressure regulator in an RV water system regulates the water pressure to prevent damage to the plumbing and fixtures. It’s typically installed at the water hookup or inlet of the RV.
RV Water Filter Systems
RV water filter systems are used to remove impurities and contaminants from the water supply. They can be installed in line with the water system to ensure clean water for drinking and general use.
Fresh Water Tank
Fresh water tanks are typically constructed from food-grade polyethylene or similar FDA-approved plastics that don’t impart taste or odors to your water. These tanks vary in capacity based on your RV’s size, ranging from compact 20-gallon tanks in smaller trailers to expansive 100-gallon reservoirs in luxury motorhomes.
Most RVs feature tank level indicators on the control panel that use sensors to monitor water levels. However, these sensors can sometimes provide inaccurate readings due to mineral buildup or debris. When boondocking (camping without hookups), monitoring your water usage becomes crucial as your fresh water supply is limited. If you’re staying at a campground with an RV water hookup, you’ll have the convenience of a continuous water supply, making it easier to manage your usage.
In-line Strainer
An in-line strainer is used to filter out larger particles and debris from the water before it enters the plumbing system. It helps prevent clogs and damage to the camper water pump and fixtures.
Water Pump
The 12-volt camper water pump is the heart of your RV water system when you’re not connected to city water. These pumps typically deliver water at 40-50 PSI (pounds per square inch) and feature an internal pressure switch that automatically activates when pressure drops (like when you open a faucet) and deactivates when pressure builds back up.
Most RV/camper water pumps are self-priming and can draw water up to a few feet, though they perform best when positioned close to the fresh water tank or connected to an RV water hookup. A properly functioning pump should run smoothly without excessive noise or vibration. Common pump issues include cycling (rapidly turning on and off), failure to prime, unusual noises, or complete failure to operate.
When boondocking, be mindful that camper water pumps draw from your battery power. Modern pumps are relatively efficient, but continuous use can impact your energy reserves if you’re not connected to shore power or running a generator.
Shut-Off Valve
Shut-off valves are installed at various points in the RV water system to control the flow of water. They allow you to isolate specific areas of the plumbing for maintenance or repairs.
Piping/Tubing
Piping or tubing refers to the network of pipes that carry water throughout the RV. They connect the various components of the water system, including fixtures, tanks, and appliances.
Accumulator
An accumulator is a pressure storage tank that smooths out water flow from the camper pump, reducing pump cycling and providing a more consistent water pressure.
Water Heater
The water heater heats water for bathing and washing dishes. It can run on propane, electricity, or a combination of both. Water heaters are typically located inside the RV and have a dedicated tank for hot water storage.
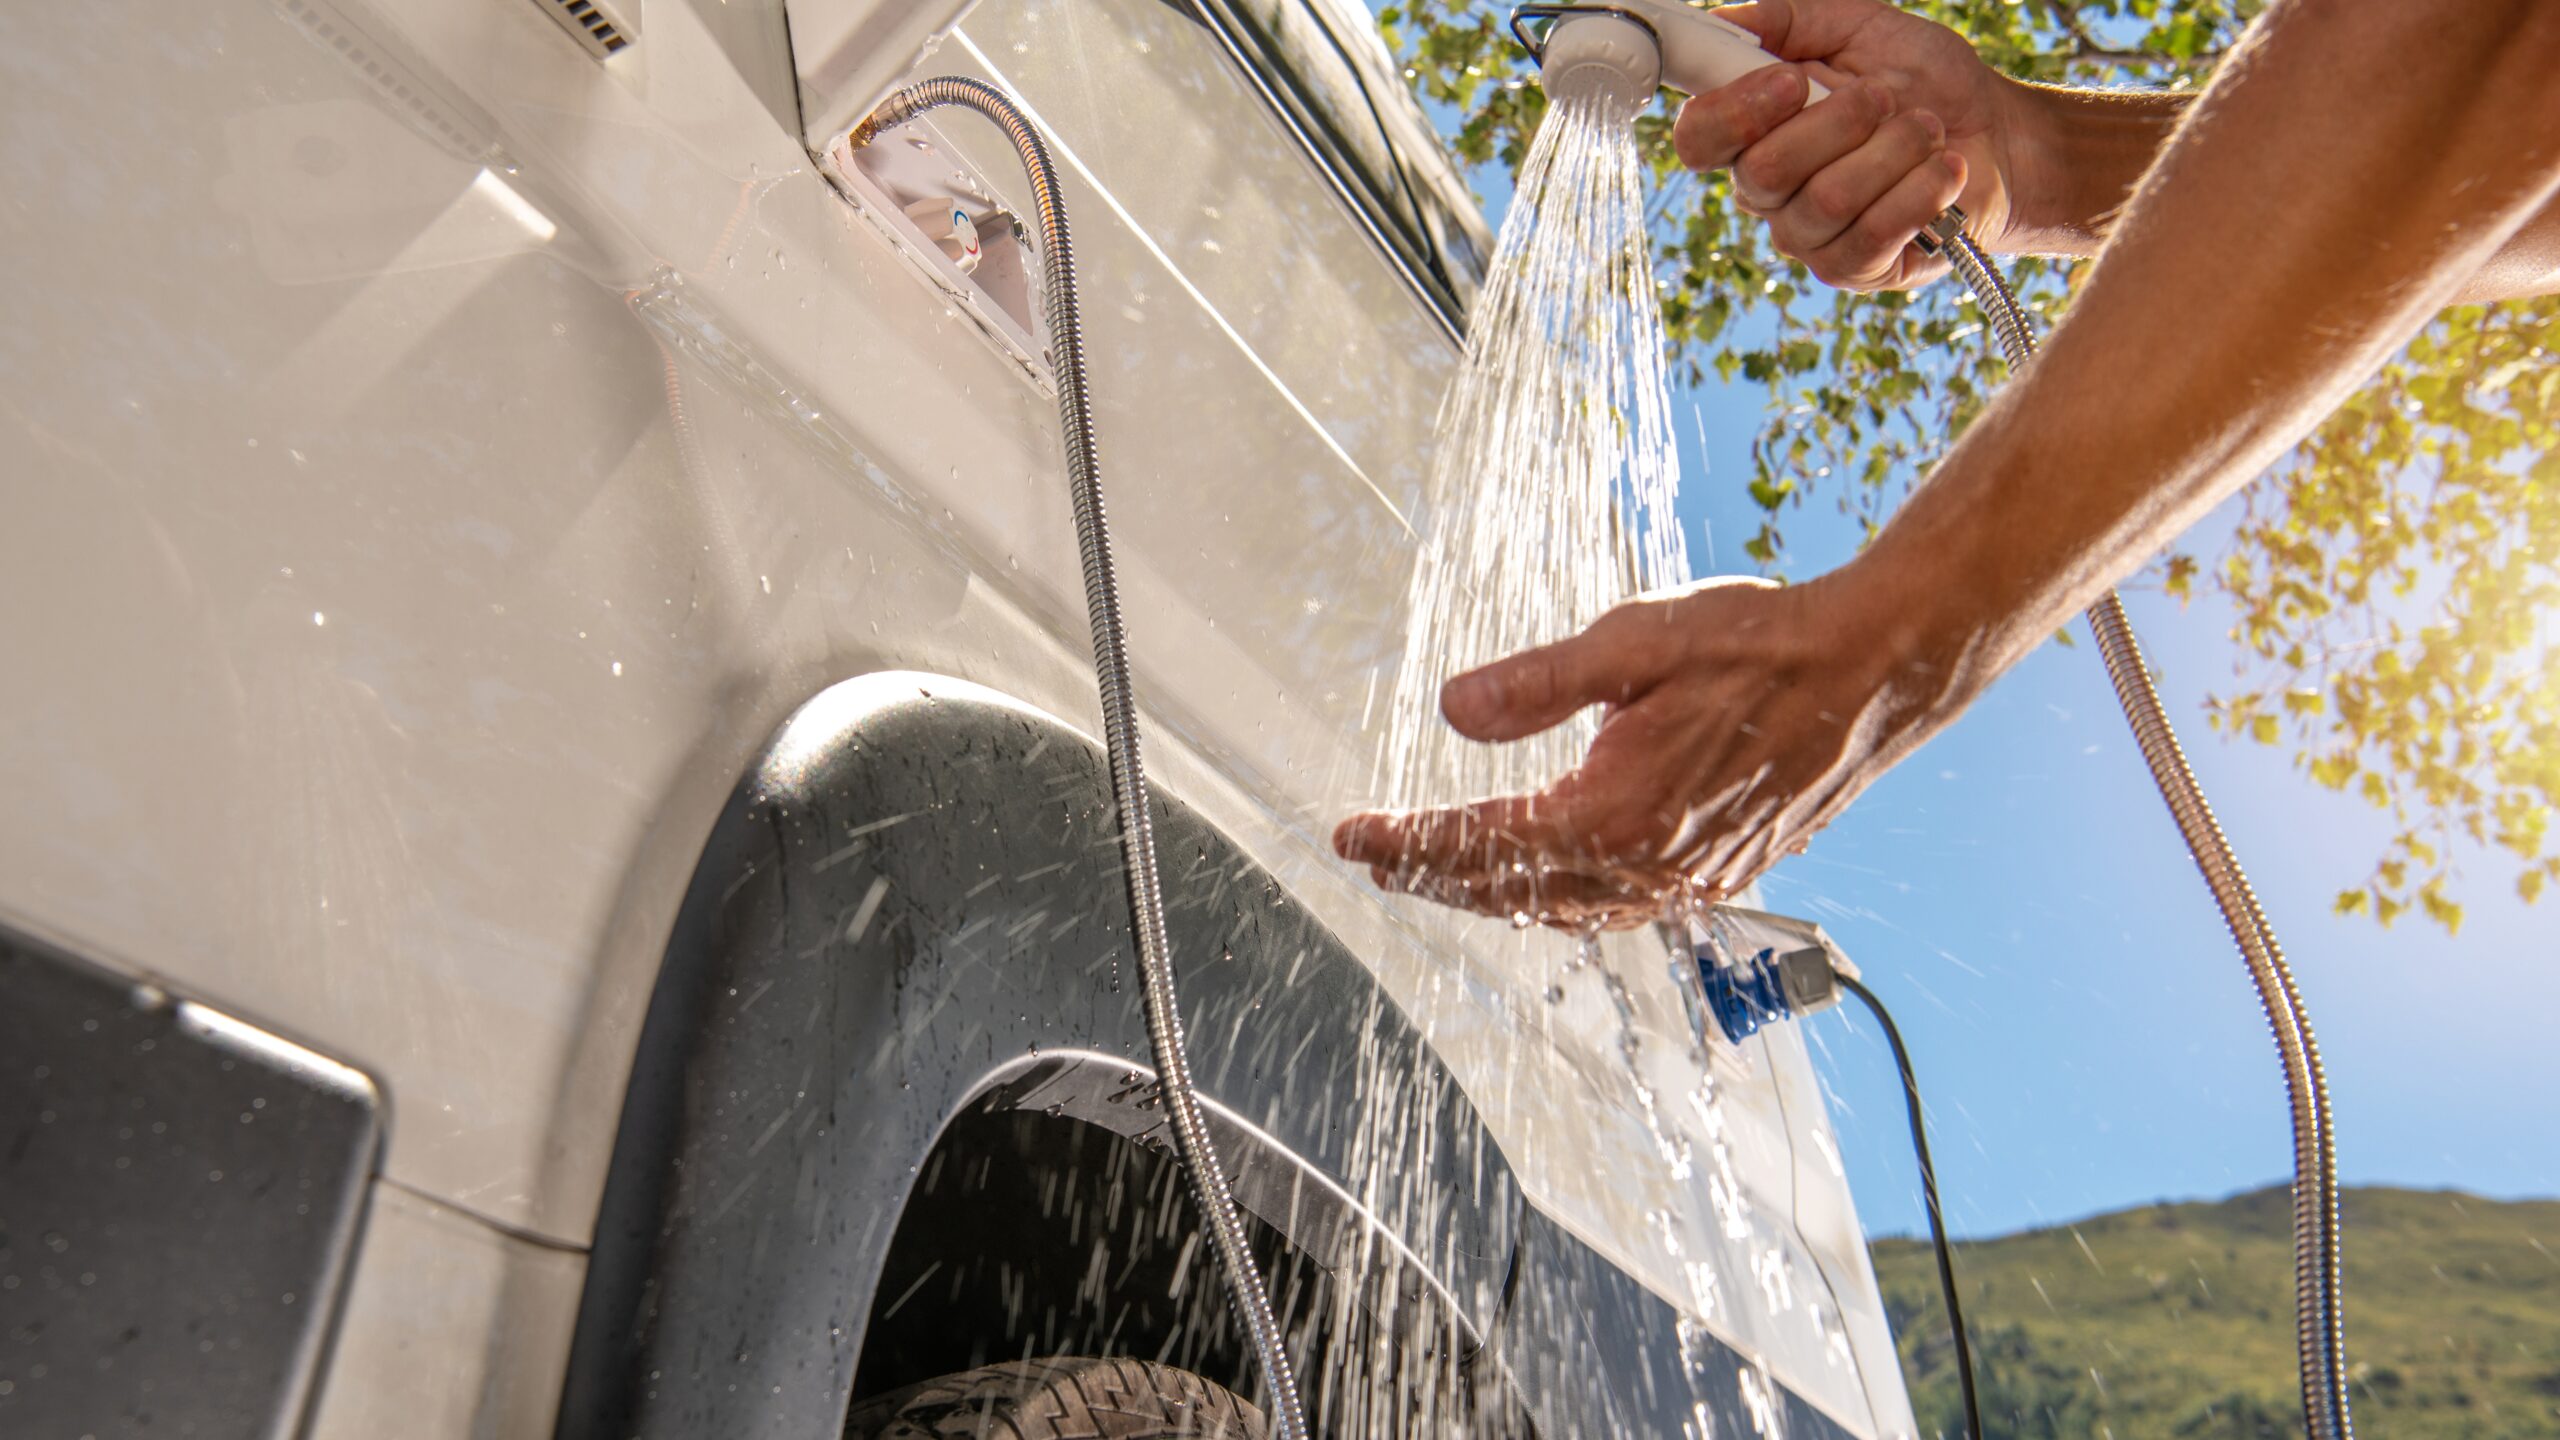
Fixtures
Fixtures include faucets, showerheads, and toilets where water is used. They are connected to the plumbing system and allow for water use inside the RV.
Low-Point Drains
Low-point drains are located at the lowest points in the plumbing system and are used to drain water from the system for winterization or maintenance. They help prevent water from freezing and damaging the pipes during cold weather.
RV Water System RV Plumbing Diagram
It’s important to note that this general diagram may vary depending on your RV model and configuration. For accurate information about your RV’s water system diagram and RV water hookup, always consult your owner’s manual or contact your RV manufacturer directly. They can provide an up-to-date and precise diagram tailored to your specific RV model and year of manufacture. This ensures that you have the most accurate information for understanding and maintaining your RV’s water system effectively.
Accessing Freshwater
When it comes to accessing freshwater in your RV, there are two primary methods:
Water Pump
To use your camper water pump, start by filling up your freshwater tank with clean water. Then, turn on the water pump, and water should begin flowing from your sinks and shower head. This method is ideal when you’re camping without any hookups. Keep in mind that your water pump operates off your RV’s battery, so be mindful of turning it off when not in use to conserve battery power.
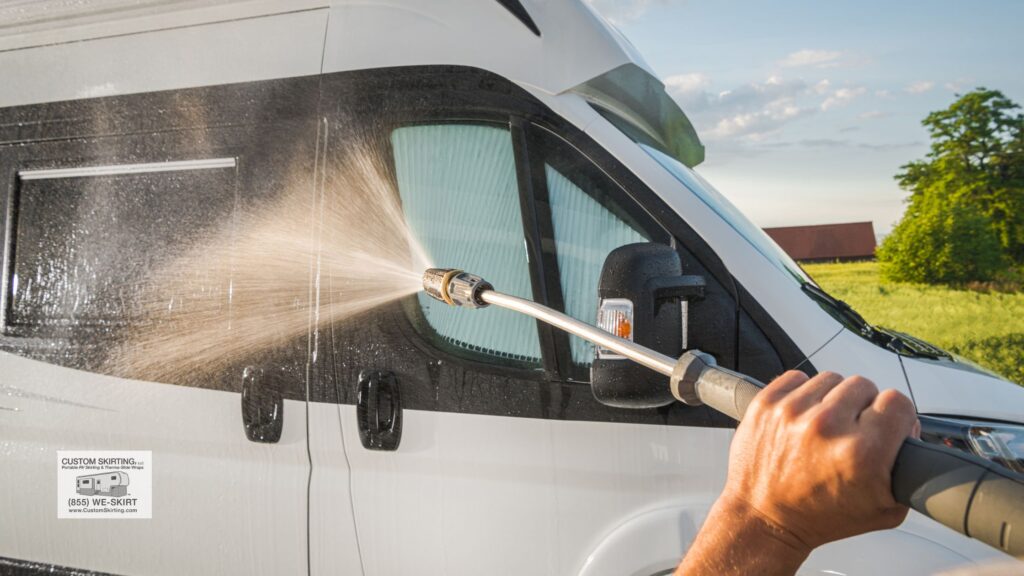
City Water Connection
For a city water connection, take a hose and connect one end to your RV and the other end to the water spigot at the hookup site. Once both ends of the hose are securely connected, turn on the water spigot. This connection provides immediate access to clean water. Whenever you connect to city water, it’s advisable to use a water pressure regulator and a water filter system to control water pressure and ensure water cleanliness as it enters your RV. These precautions help protect your RV’s plumbing system and ensure a reliable water supply during your travels. If you’re unsure how the connections work, reviewing an RV water system diagram can give you a clear visual guide to better understand the setup.
Dumping Your RV Tanks: A Step-by-Step Guide
When your RV tanks are full or you’re preparing to wrap up your trip, it’s important to properly dump your gray water and black water tanks. Here’s a step-by-step guide to the process:
- Prepare Your Sewer Hose:
- Use a dedicated sewer hose designed specifically for dumping RV tanks. Connect one end securely to your RV’s outlet and the other end to the dump station drain.
- Dump the Black Tank:
- Begin by pulling the valve for your black tank. Always dump your black tank first to flush out any solids or build-up that might accumulate. This sequence helps prevent residue from the black tank remaining in the hose.
- Dump the Gray Tank:
- After the black tank is emptied, close its valve and then open the valve for your gray tank. Gray water can help flush out the hose and clean the system.
- Use a Proper Dump Station:
- Ensure you’re using a designated dump station for disposing of your gray water. Dumping gray water in unauthorized areas can lead to environmental issues and legal repercussions.
- Rinse Your Sewer Hose:
- After both tanks are fully emptied, disconnect the sewer hose from your RV. Keep the other end connected to the dump station drain. Use a separate rinsing hose (dedicated solely for this purpose) to flush out any residue or debris from inside the sewer hose.
- Clean and Sanitize:
- Once the sewer hose is rinsed and stowed away, take a few moments to clean and sanitize the surrounding area. Use disinfectants or sanitizing wipes to ensure a hygienic environment.
How to Maintain Your RV Water System
Proper maintenance of your RV water system is essential for ensuring a clean and reliable water supply during your travels. Here’s a guide on how to maintain your RV water system effectively:
- Use Pressure Regulators and Water Filters:
- When connecting to city water, always use a water pressure regulator to protect your RV’s plumbing from high water pressure. Additionally, use a water filter systems to ensure clean and safe water enters your RV.
- Utilize Water filter systems for Freshwater Tank Fill-Up:
- When filling your fresh water tank from a potable water source, use a water filter to remove impurities and contaminants, ensuring your tank remains clean and safe.
- Regularly Sanitize Your Fresh Water Tank:
- Sanitize your fresh water tank before each use to eliminate bacteria and maintain water quality. Many RVers perform this annually after de-winterizing their RV or when the vehicle has been unused for an extended period. Follow the recommended guidelines for sanitizing your specific tank.
- Drain Your Water Heater and Inspect the Anode Rod:
- Regularly drain your water heater to remove sediment buildup and maintain its efficiency. Additionally, inspect the anode rod in steel tanks to ensure it’s in good condition and replace it if necessary to prevent corrosion.
- Winterize Your RV Properly:
- Before winter sets in, properly winterize your RV’s water system to prevent freezing and damage. One effective method is to add a Custom RV Skirt, which provides insulation and protection against harsh winter conditions. The skirt helps maintain interior warmth, reducing the strain on heating systems and preserving the water system.
Water System Maintenance
Sanitizing Fresh Water Systems
Regular sanitization of your fresh water system prevents bacteria growth and ensures safe drinking water. Most experts recommend sanitizing at least twice a year and whenever your RV has been sitting unused for an extended period. Reviewing an RV water system diagram before starting can also help you understand how water flows through your lines, ensuring you don’t miss any part of the system.
The standard sanitization procedure uses household bleach (unscented, regular bleach—not splashless or scented varieties):
- Calculate the appropriate amount of bleach: ¼ cup of bleach per 15 gallons of tank capacity.
- Mix the bleach with water (1:4 ratio) before adding it to your empty fresh water tank.
- Fill the tank with potable water.
- Turn on the pump and open each faucet (hot and cold) until you smell bleach, then close.
- Let the solution sit in the system for at least 4 hours (overnight is better).
- Drain the entire system and refill with fresh water.
- Flush all lines until the bleach smell is gone (may require several tank fills).
Commercial RV water system sanitizers are also available if you prefer not to use bleach. These products often include instructions for different concentration levels based on your needs.
Remember that sanitizing addresses biological contamination but doesn’t remove chemical contaminants or sediment—that’s the job of your RV water filter system.
Winterizing Procedures
Proper winterization is essential to prevent freeze damage to your RV water system. Even a small amount of water expanding as it freezes can crack pipes, damage fittings, and ruin expensive components like pumps and water heaters.
There are two primary methods for winterizing:
Antifreeze Method:
- Drain all water from the system (fresh tank, water heater, low point drains).
- Bypass the water heater (to avoid filling it with antifreeze).
- Bypass any water filters (to prevent antifreeze from damaging filter media).
- Use a hand pump or the RV’s water pump with an intake tube to draw non-toxic RV antifreeze into the system.
- Open each faucet (hot and cold) until pink antifreeze appears, then close.
- Pour antifreeze into each drain trap (sinks, shower, toilet).
- Ensure the toilet has antifreeze in the bowl.
Air Compressor Method:
- Drain all water from the system (fresh tank, water heater, low point drains).
- Bypass the water heater.
- Connect an air compressor with a blowout plug to the city water inlet.
- Set the compressor to no more than 30-40 PSI.
- Open each faucet one at a time and blow air through until no more water appears.
- Pour RV antifreeze into each drain trap to protect P-traps.
The air method uses less antifreeze but may not remove all water from some components. Many experienced RVers use a combination of both methods for complete protection.
When spring arrives, de-winterizing involves flushing all antifreeze from the system and sanitizing before use.
Troubleshooting Common Issues
Even well-maintained RV water systems can develop problems. Here are solutions for common issues:
Low Water Pressure:
- Check for kinked water hoses
- Clean or replace clogged water filters
- Inspect the water pump pressure switch
- Look for partially closed valves
- Check for calcium buildup in faucet aerators
Pump Runs But No Water Flows:
- Verify water in the fresh tank
- Check for air locks in the system
- Inspect pump strainer for clogs
- Look for crimped intake lines
Pump Cycles On and Off When No Water Is Being Used:
- Check for leaks in the system
- Inspect check valves
- Consider installing an accumulator tank
- Verify proper pressure switch operation
Strange Tastes or Odors:
- Sanitize the fresh water system
- Replace water filters
- Check for algae growth in the fresh tank (often caused by light exposure)
Inaccurate Tank Sensors:
- Clean sensors with specialized tank cleaning products
- Try ice cube methods (adding ice to slosh around and clean sensors)
- Consider aftermarket sensor systems that don’t rely on internal probes
Water Heater Issues:
- Check propane supply for gas models
- Verify 120V power for electric models
- Inspect and clean burner assembly
- Test pressure relief valve operation
For persistent or complex problems, don’t hesitate to consult a professional RV technician. Water system repairs are generally less expensive than fixing damage caused by improper DIY attempts.
Conclusion
Your RV water system transforms your vehicle from simple transportation into a true home on wheels. By understanding how fresh water flows through your RV, how waste water is managed, and how to properly maintain all components, you’ll enjoy more reliable operation and fewer unexpected problems during your travels. A helpful RV water system diagram can give you a clear visual overview of how everything connects and functions, making it easier to spot issues and perform maintenance. Knowing how to properly use an RV water hookup at campgrounds is also essential for keeping your system running smoothly.
Developing good habits around water usage, regular maintenance, and seasonal preparation pays dividends in both comfort and cost savings. Take time to learn your specific RV’s water system quirks and create a personalized maintenance schedule that addresses your typical usage patterns and travel environments.
Whether you’re a weekend warrior or full-time RVer, mastering your RV water system leads to more enjoyable, trouble-free adventures. The knowledge you’ve gained from this guide empowers you to handle routine maintenance, troubleshoot common issues, and make informed decisions about potential upgrades to enhance your RVing experience.
Protect Your RV Water System Year-Round
Don’t let freezing temperatures damage your RV water system! Custom Skirting provides the nation’s #1 RV skirting solution, custom-tailored on-site for a perfect fit. Our exclusive “No-Snap, No-Gap” channel system effectively seals out water, snow, and wind, protecting your tanks and pipes from freeze damage. With over a decade of testing in the harshest northern winters, our user-friendly design moves with you wherever your adventures lead. Experience the difference that proper protection makes—get Custom Skirting today and enjoy worry-free camping in any season!